What’s up, guys! It’s time approach something super relevant for all the iPhone users out there. We’re tackling a classic problem today: running out of space because of all those awesome photos you’ve been taking. Now, while iOS 17 doesn’t directly offer a photo compression feature, no stress, I’ve got you covered with some cool workarounds. We’re going to break down how to compress photos on your iPhone – because let’s face it, deleting photos isn’t an option. So, if you’re ready to make more room for your snaps without losing the quality, you’re in the right place. Let’s get into it!
Why Compress Photos on iPhone?
Alright, so why are we even talking about compressing photos? Well, it’s all about making the most of the space we have. High-quality photos are great, but they can eat up a ton of storage on your iPhone. By compressing them, you can keep snapping and saving without worrying about that dreaded “Storage Full” pop-up. And the best part? You can still enjoy your photos in good quality. So, compressing not only helps you free up some space but also helps you smartly managing your photo collection.
- Keep more photos without sacrificing your phone’s performance.
- Reduce the need for constant cloud uploads or external storage purchases.
- Make sharing photos quicker due to smaller file sizes.
Coming up, let’s check out the step-by-step process of how you can compress photos on your iPhone.
How to Compress Pictures on iPhone
So, how do you compress those hefty photo files? iOS 17 may not have a direct method, but there are several smart ways to do it. Let’s break them down into easy steps. Whether you’re looking to save some space or make your photo sharing faster, these methods have got you covered.
Method 1: Compress Photos with an App
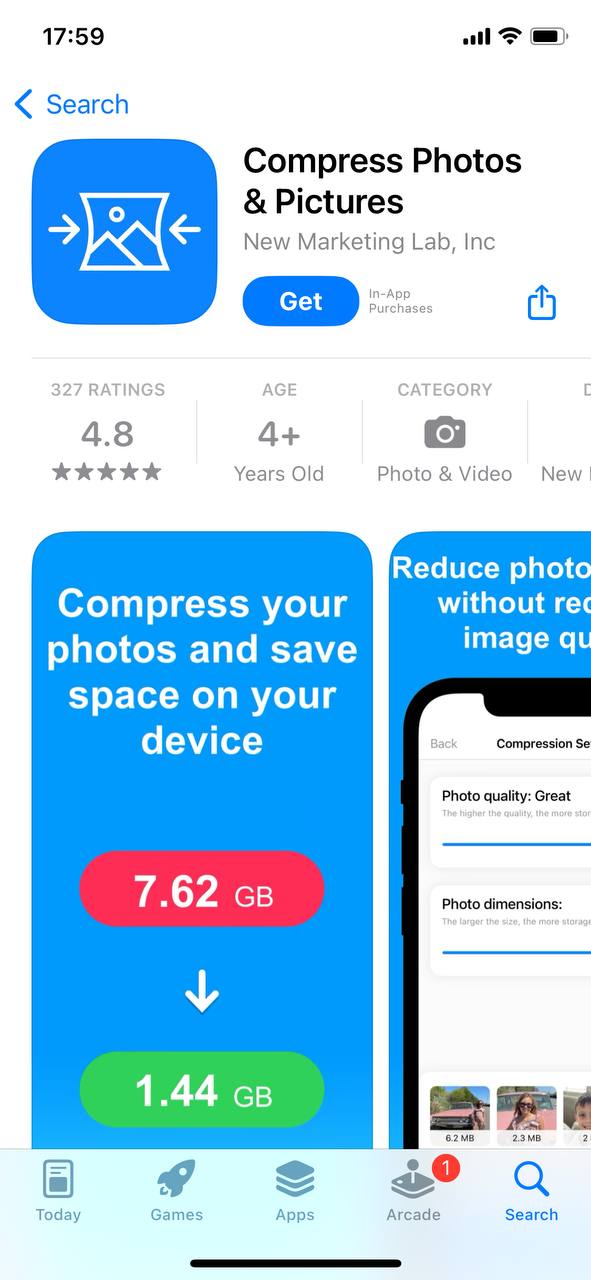
All right, let’s jump into a hands-on guide for compressing those photos. We’ll use ‘Compress Photos & Pictures‘ for this walkthrough. It’s straightforward and does the job well. Here’s how it’s done:
- Grab the App: Head over to the App Store, search for ‘Compress Photos & Pictures’, and get it on your iPhone.
- Pick Your Photos: Open the app, hit ‘Select Photos’, and choose the pics you want to compress. Whether it’s one or a bunch, you’ve got the freedom to select.

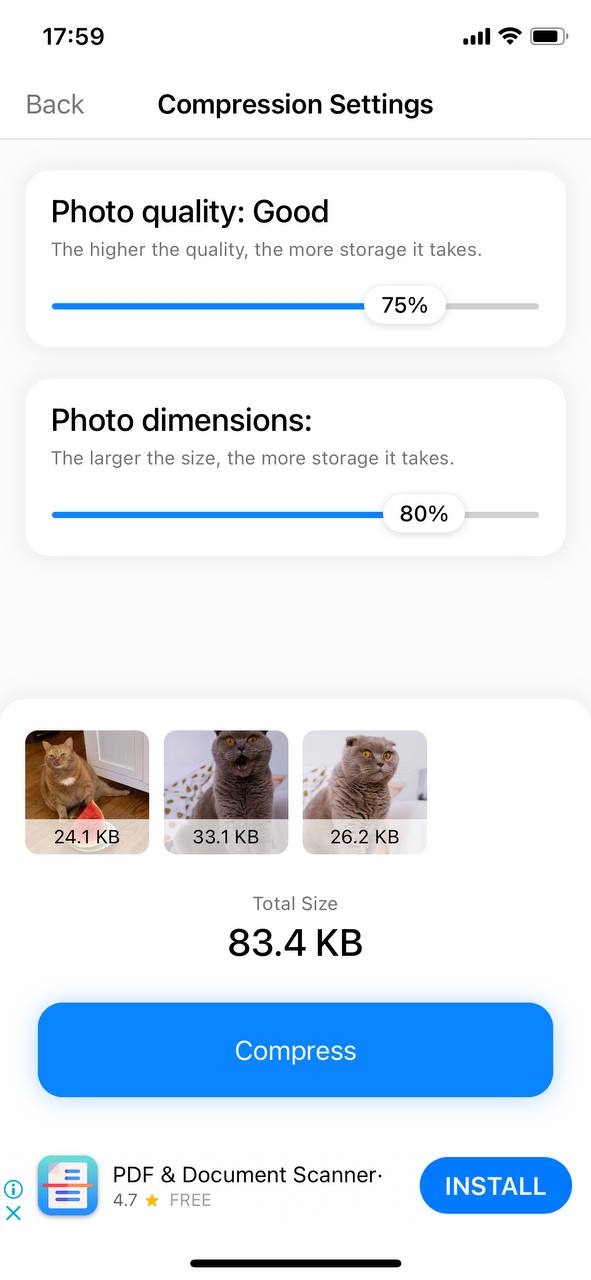
- Tweak the Compression: Once you’ve picked your photos, you’ll see a slider for compression. Slide it around to find the perfect balance – remember, we’re going for smaller size without losing too much quality.
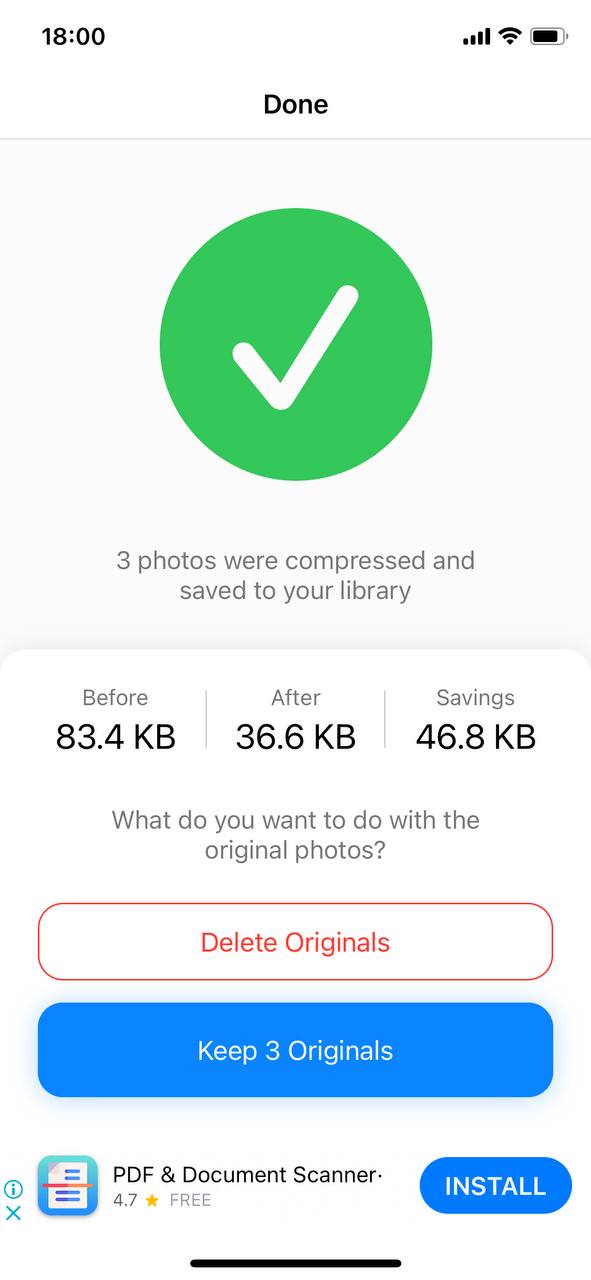
- Save Your Work: Done compressing? You can either save these as new files or overwrite the originals. If you’re experimenting, I suggest saving new versions to compare the before and after.
And there you have it – a simple way to make those photo files leaner and your iPhone happier.
Method 2: Compress Photos Online
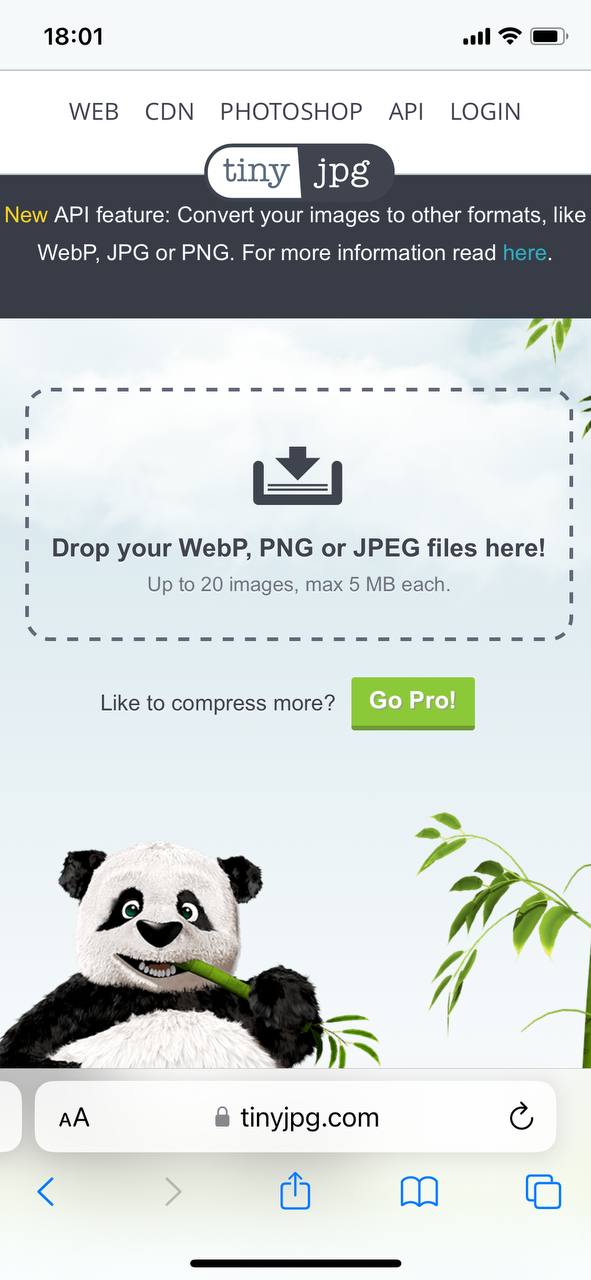
Not into downloading apps? No problem. Let’s use an online tool to compress those photos. We’ll go through using a popular website like TinyJPG for this task. It’s quick, easy, and you don’t even need to install anything.
- Find Your Tool: Open your browser and head to the TinyJPG website.
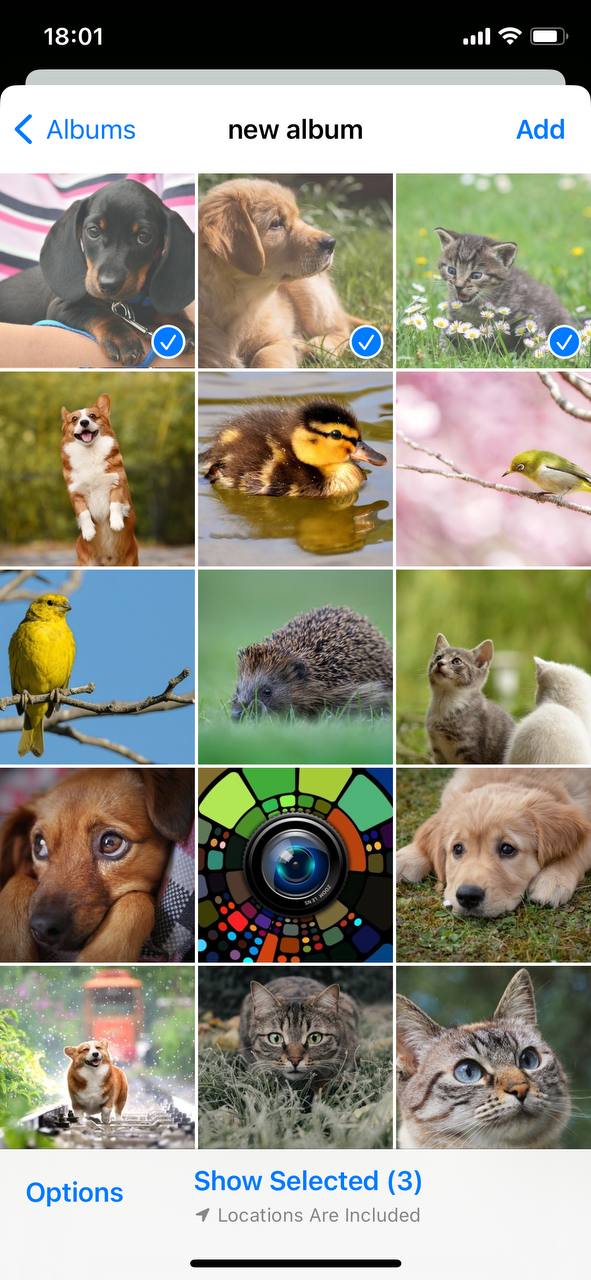
- Upload Your Photos: Simply use the upload option to select them from your gallery.
- Automatic Compression: TinyJPG will automatically compress your photos. The level of compression is managed by the tool, balancing quality with file size reduction.
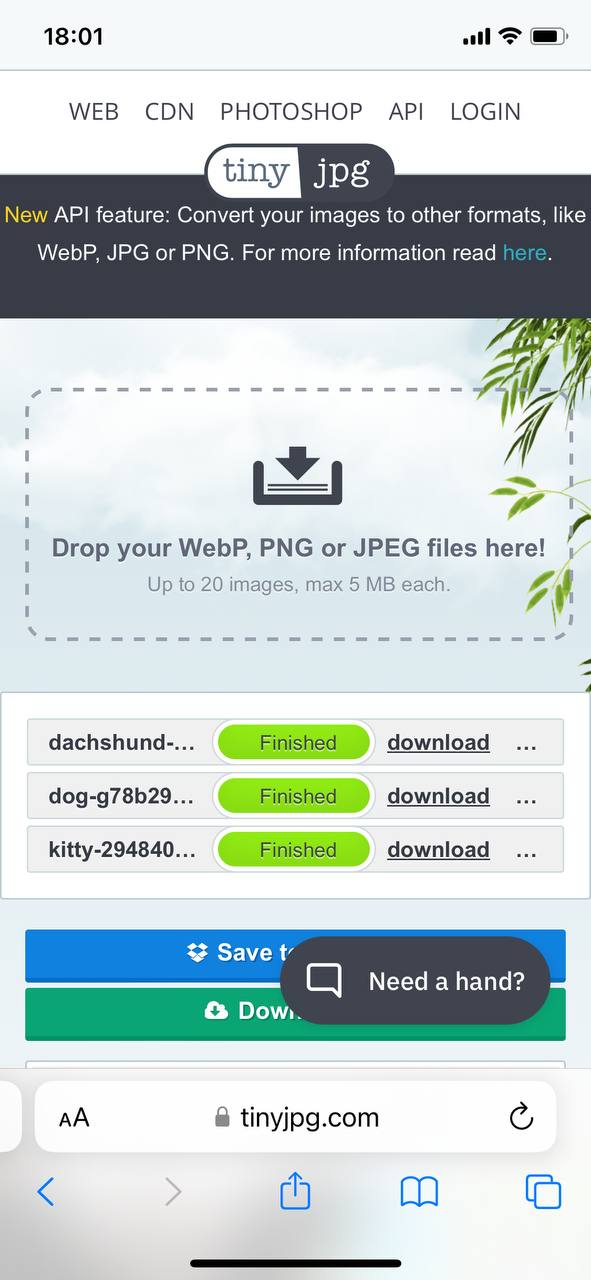
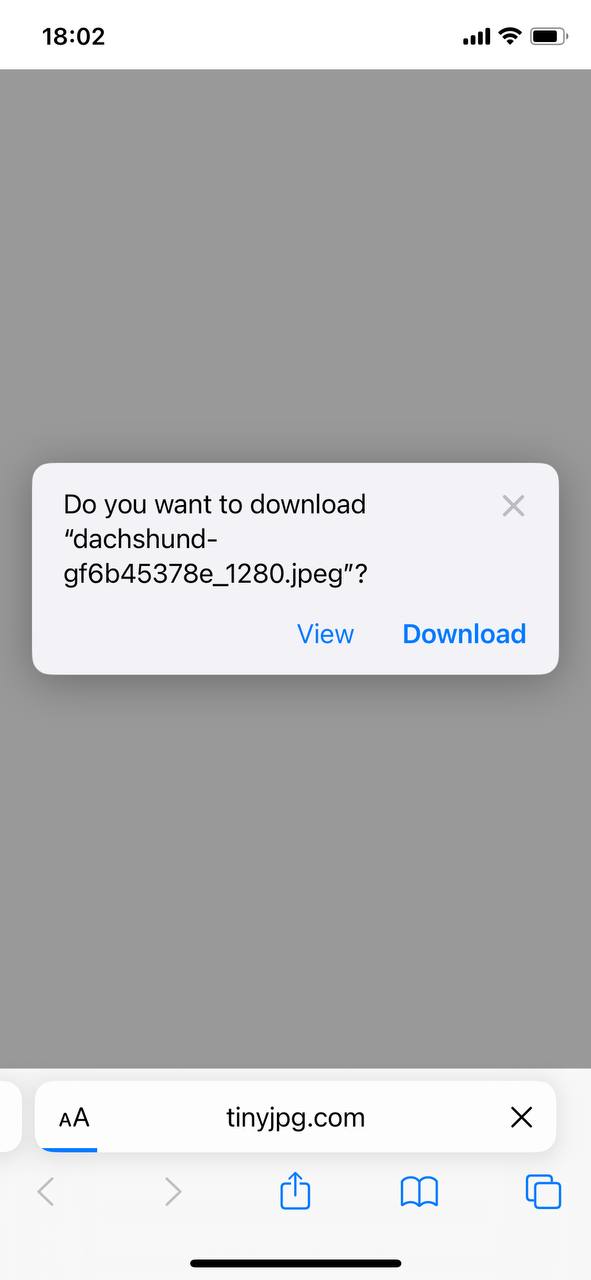
- Download the Compressed Photos: Once the compression is done, download the photos back to your iPhone. You can either replace the originals or keep them as additional copies.
And just like that, you’ve compressed your photos without any apps.
Method 3: Optimize Photo Resolution Using HEIC Format
Looking for another neat trick to reduce photo size on your iPhone? Let’s talk about the HEIC format. HEIC stands for High Efficiency Image Format, and it’s Apple’s answer to saving high-quality photos at smaller file sizes. Switching from JPEG to HEIC can be a real space saver. Here’s how you can make the switch:
- Change Your Settings: On your iPhone, go to Settings > Camera > Formats.
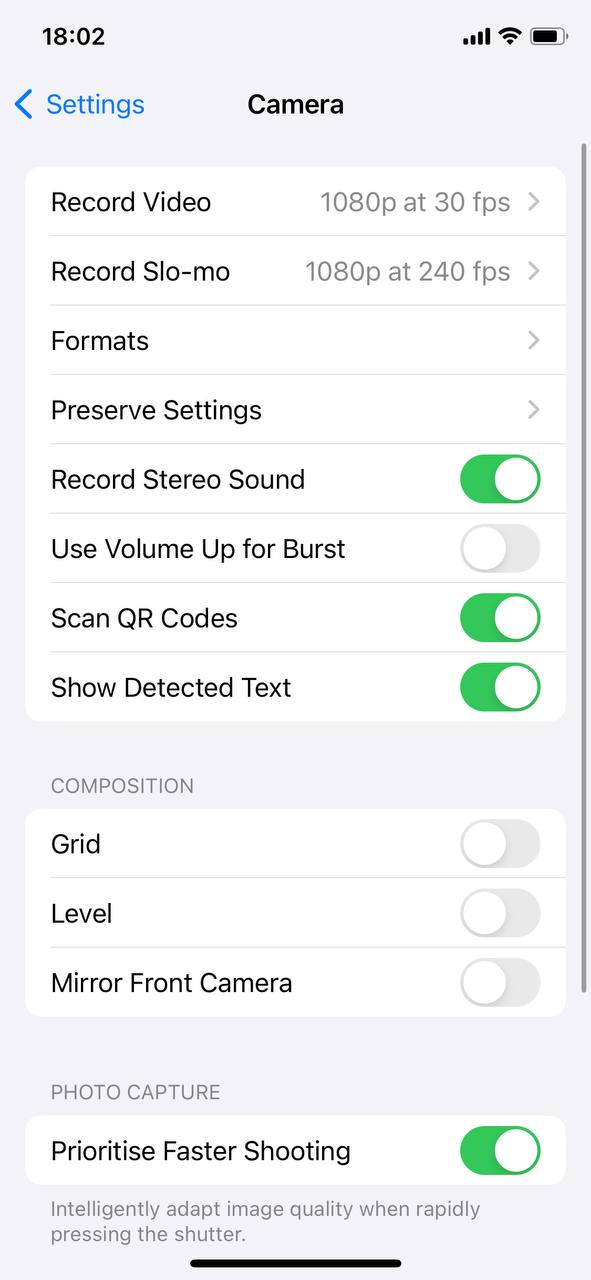
- Select High Efficiency: Under ‘Camera Capture’, choose the ‘High Efficiency’ option to enable HEIC format for your new photos.

- Converting Existing Photos: For your existing JPEG photos, use an app or an online converter to switch them to HEIC format. Just remember to check the photo quality after conversion.
By switching to HEIC, you’re essentially choosing a more efficient way to store your photos, giving you more room without compromising quality.
How to Maintain Quality During Photo Compression
Now, let’s talk about keeping your photos looking great, even after compression. Nobody wants their photos to turn into a pixelated mess, right? Here’s how you can shrink photo sizes while preserving their charm:
- Choose the Right Level of Compression: When using apps or online tools, don’t go overboard with compression settings. A mild compression usually reduces file size significantly without a noticeable drop in quality.
- Check the Results: After compressing a photo, give it a quick look. If it’s lost too much quality, you might want to redo it with less compression.
- Consider the Purpose: If you’re compressing for web use, you can afford more compression. But for prints, keep the compression low to maintain high quality.
By following these tips, you can ensure that your photos remain vibrant and clear, even as you save space on your iPhone. Next, we’ll explore when it might be better to compress your photos and when it’s time to let go and delete.
Is It Better to Compress or Delete Photo on iPhone?
So, we’ve talked about how to compress your photos, but here’s the big question: when should you compress, and when is it just better to delete? It’s all about making smart choices for your photo library management. Let’s break it down:
- Compress When:
- You want to save space but the photo has sentimental or aesthetic value.
- The image is important for future use or reference.
- You’re planning to use the photo in a project or presentation.
- Delete When:
- The photo is a duplicate, blurry, or just an accidental snap.
- It’s something you’ll realistically never look at again.
- The photo is outdated or no longer relevant to your current needs.
- You have it backed up elsewhere (like a cloud service or external drive).
Remember, it’s about balancing the quality and quantity of your images. By making thoughtful decisions, you can keep your photo library both spacious and meaningful. Up next, let’s tackle some myths about photo compression and set the record straight.
Common Photo Compression Myths
There’s a lot of misinformation floating around about compressing photos. Let’s clear up some common myths and get to the truth:
- Myth: Compression ruins photos: Not necessarily. Smart compression reduces file size while keeping quality loss to a minimum. It’s all about finding the right balance.
- Myth: You can’t tell the difference after compression: Well, this depends. Mild compression often leaves photos looking almost the same as before, but with heavy compression, you might notice changes.
- Myth: Once compressed, It’s permanent: Nope. If you save a new version of the photo, the original remains unchanged. You can always revert back if you’re not happy with the results.
Understanding these truths helps you make more informed decisions about photo compression. Finally, let’s wrap up everything we’ve covered about compressing photos on your iPhone.
Conclusion
And there we have it, guys – a complete guide on how to compress photos on your iPhone. From using apps to online tools, and even trying out the HEIC format, we’ve covered a variety of ways to keep your photo library lean and efficient. Remember, compressing photos is all about making more room for those precious memories, without losing their essence. Whether you’re a casual snapper or a photo enthusiast, these tips will help you manage your gallery better. Keep snapping, and enjoy a more spacious iPhone!