
If you’re like most people, you probably save a lot of photos on your Mac. However, this can lead to duplicate photos cluttering your storage space, making it difficult to find the images you actually want. In this article, we’ll show you how to find and delete duplicate photos on Mac so you can free up space and organize your photo library.
Understanding the Origins of Duplicate Photos
There are several reasons why this is happening:
- Copying or importing photos from different devices: If you import photos from various devices, you might obtain duplicates if the files have different names or import the images carelessly.
- Photo editing and versioning: When editing a photo and saving multiple versions, you might end up with duplicates of the same image.
- Syncing errors and backup restoration: You might get duplicate copies if you’ve restored from a backup or synced your photos to multiple devices.
- Sharing and receiving photos: If you send or receive pictures from others via AirDrop or download images from those sent to you via email or on any social media platform, your library might end up with duplicates.
- Merging photo libraries: If you combine multiple photo libraries, you may end up with duplicates if the same photo exists in both libraries.
Best Methods for Finding and Deleting Duplicate Photos on a Mac
If you want to get rid of duplicate photos on Mac, try doing one of the following methods:
Method 1: Identify Duplicate Photos Manually
If you have a relatively small photo library, you can identify duplicate photos manually. Here are three options for doing so:
Option A: Use Finder to search for duplicate file names
- Go to Finder, select File, then choose Smart Folder from the menu.
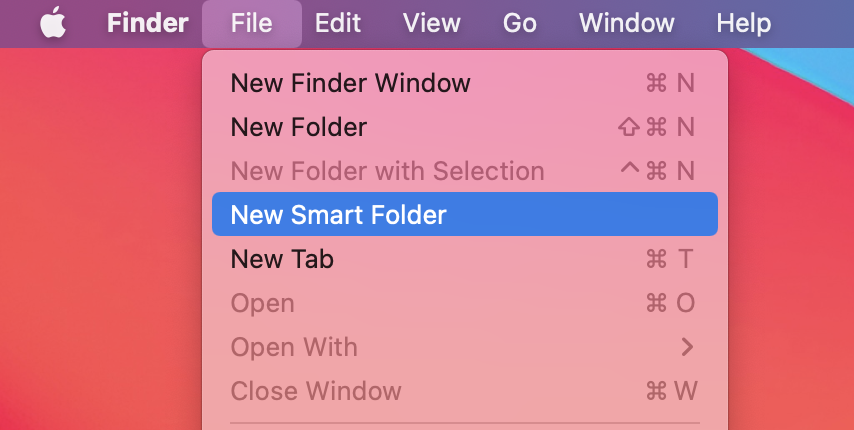
- Select + from the upper-right corner of the screen.
- From here, you can search for duplicate files on your Mac. You can select a particular folder or choose This Mac if you want to scan your entire Mac’s drive for duplicate files.
- Choose Kind from the drop down menu on the first column and Image on the second column.
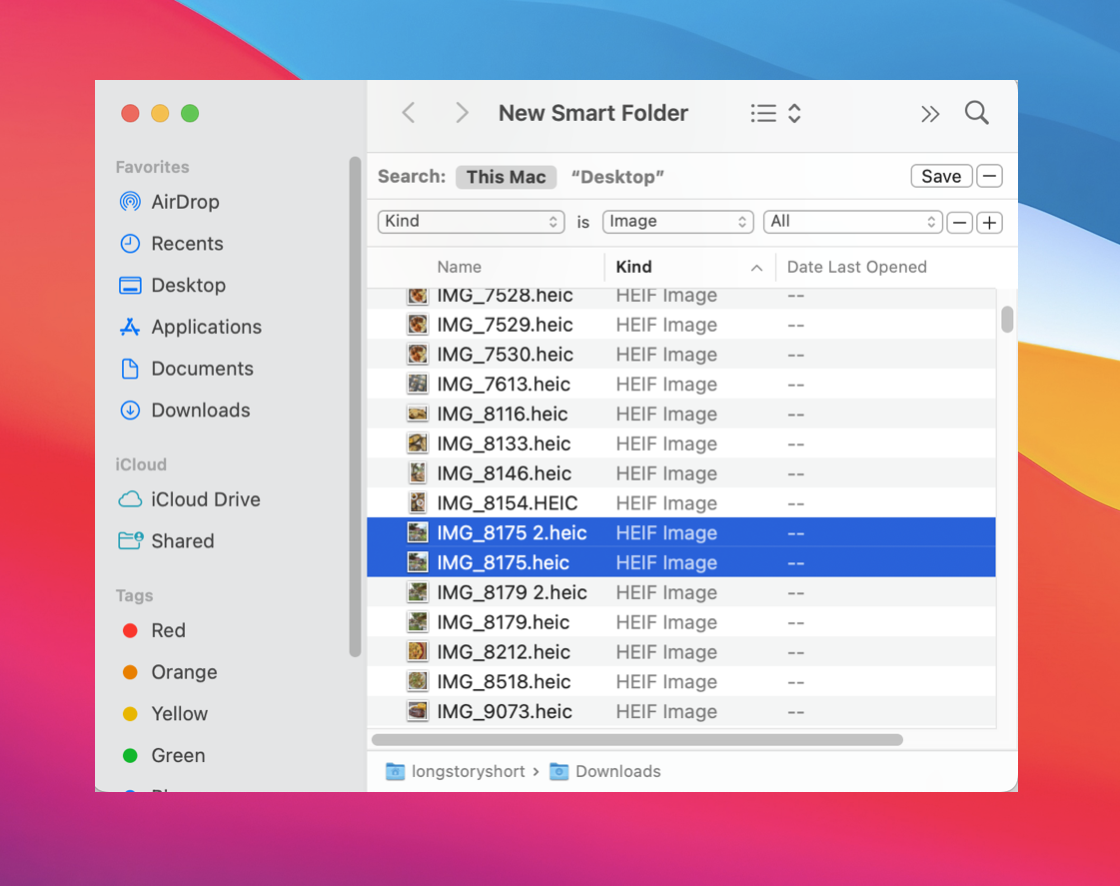
- Go through the results and sort them by file name. Check the images with the same file name, and open them to confirm if they are duplicates.
- Delete the duplicate file by right-clicking it, and select Move to Trash.

Option B: Sort photos by date in Photos app
By default, the Mac Photos app keeps a sort from oldest to newest to showcase all photos and videos from your photo library. Here’s how you can sort photos by date using the Photos app:
- In selecting a photo album, click the View from the menu bar, then choose Sort.
- You will be shown four sorting options: “By Date Added”, “By Name”, “By Oldest First”, “By Newest First”. That’s all the sorting options that the Mac Photos app can offer.

Option C: Compare visually similar photos
- Open the Photos app on your Mac.
- Navigate to the album or folder containing the photos you want to check for duplicates.
- Select the first photo you want to compare.
- Scroll through the album or folder and select the second photo you want to compare.
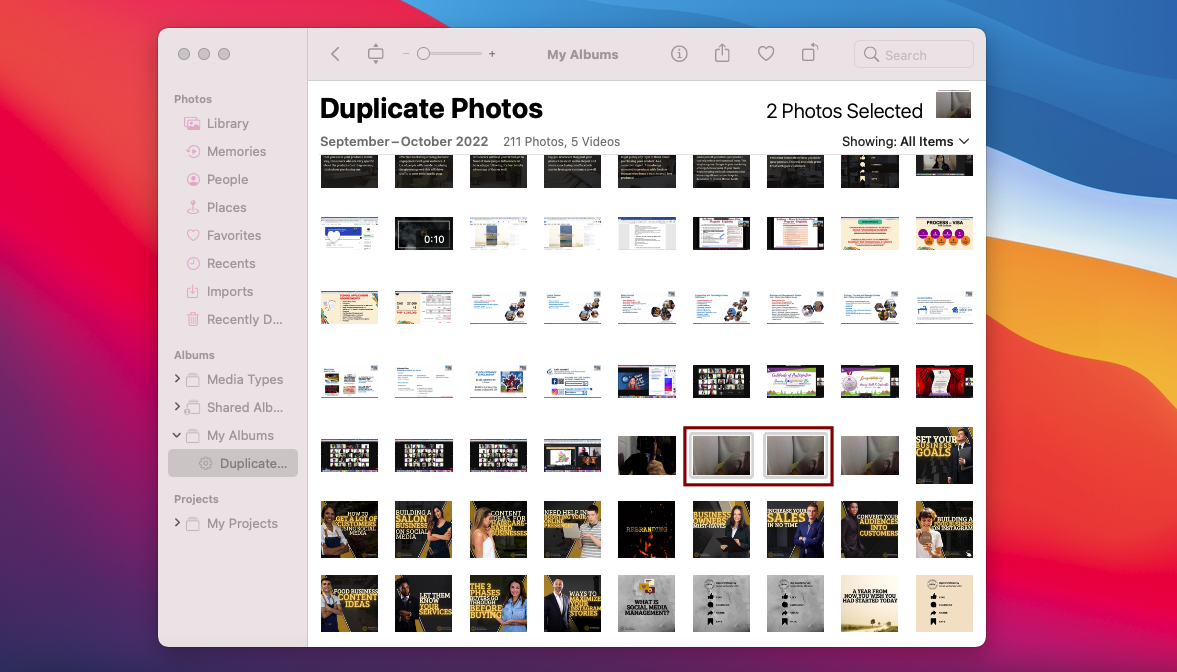
- Click on the Info button in the top-right corner of the Photos window.
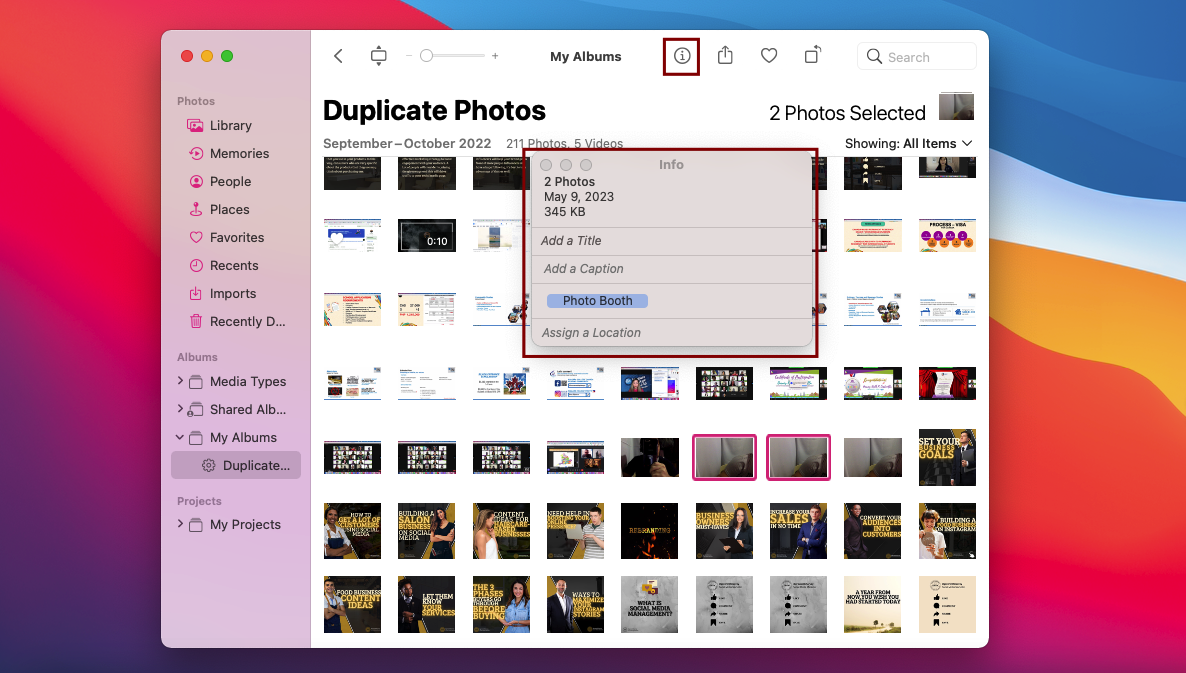
- Compare the details of the two photos, such as the date and time, location, and file size. If the details are identical, the images may be duplicates.
- To confirm whether the photos are duplicates, use the zoom feature in Photos to examine the images closely. If the images appear identical or nearly identical, they are likely duplicates.
- If the photos are duplicates, select one and delete it by pressing the Delete key on your keyboard or right-clicking on the image and selecting Delete Photo.
Repeat the above steps for each set of visually similar photos until you have identified and deleted all duplicate images in the album or folder.
Method 2: Use Built-in Features and Third-Party Tools
If you have a large photo library, or if you’d rather use automated tools, there are several options available:
Option A: Smart Albums in the Photos app
- Go to the Photos app.
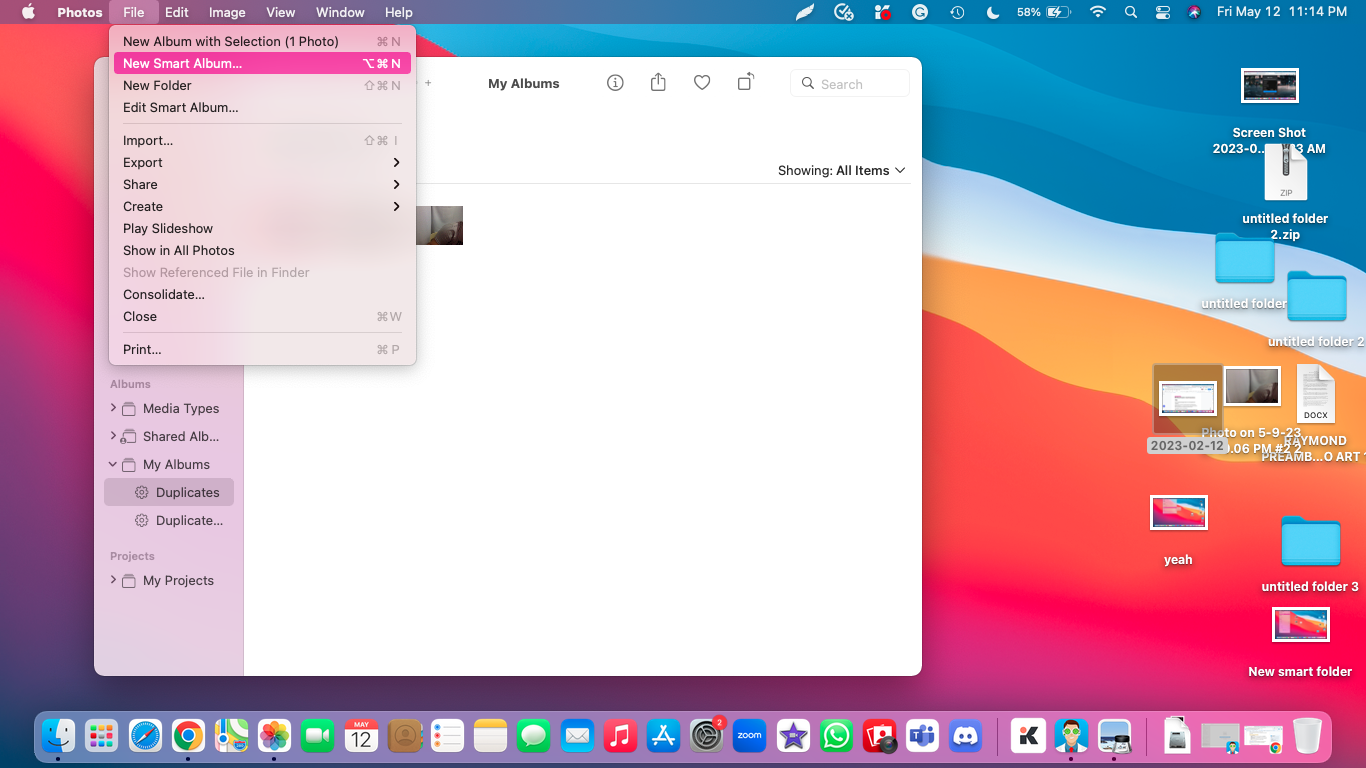
- In the menu bar, click File and create a New Smart Album by clicking New Smart Album.
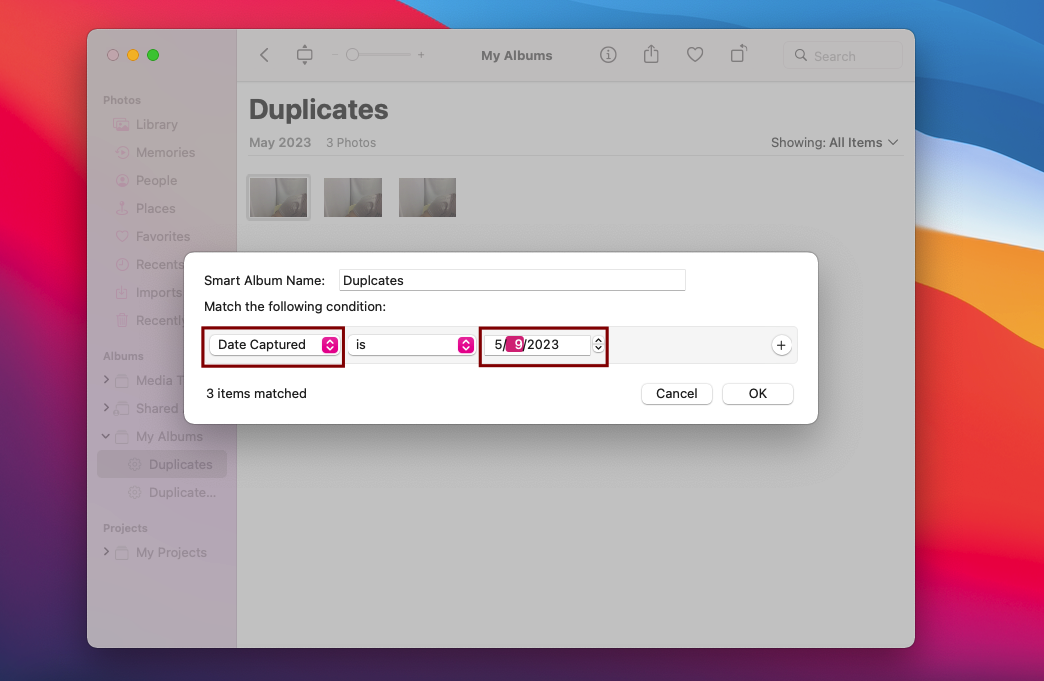
- On the first drop-down menu, select date captured, and in the second drop-down menu, input a particular date. There are also other options you can select on the drop-down menu, such as album, file name, person, and more. Select the one that best suits what you’re looking for.
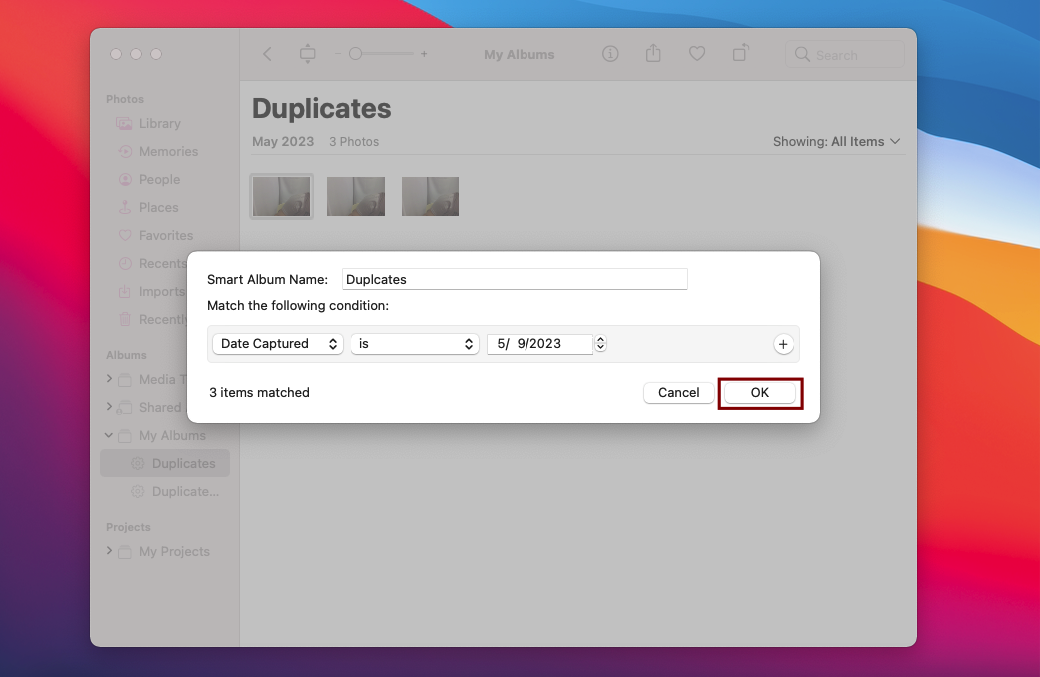
- Click OK. From there, the Photos app will show you pictures based on your input date if you selected ‘date captured’.
- Manually take a look at any duplicate photos and delete all duplicates.
Option B: Third-party applications
Disk Drill and Gemini 2 are third-party applications that can be used to find and delete duplicate photos on a Mac. Here are the steps to use each application:
Disk Drill
Disk Drill is one of the most reliable data software recovery tools, but it can also do more than that, including finding duplicate files.
Here are the steps to find and delete duplicate images using Disk Drill:
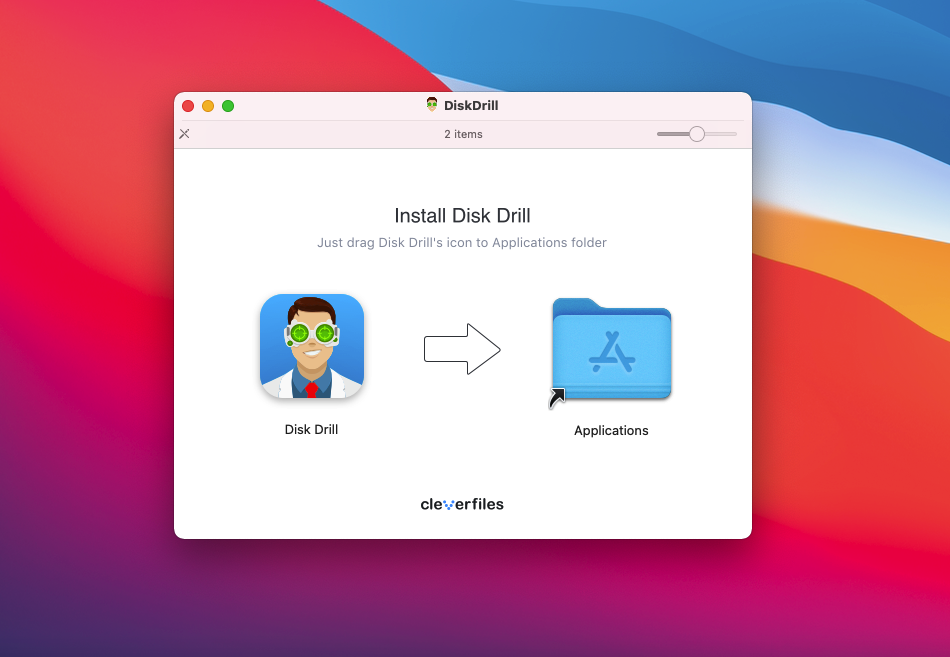
- Download and install Disk Drill on your Mac.
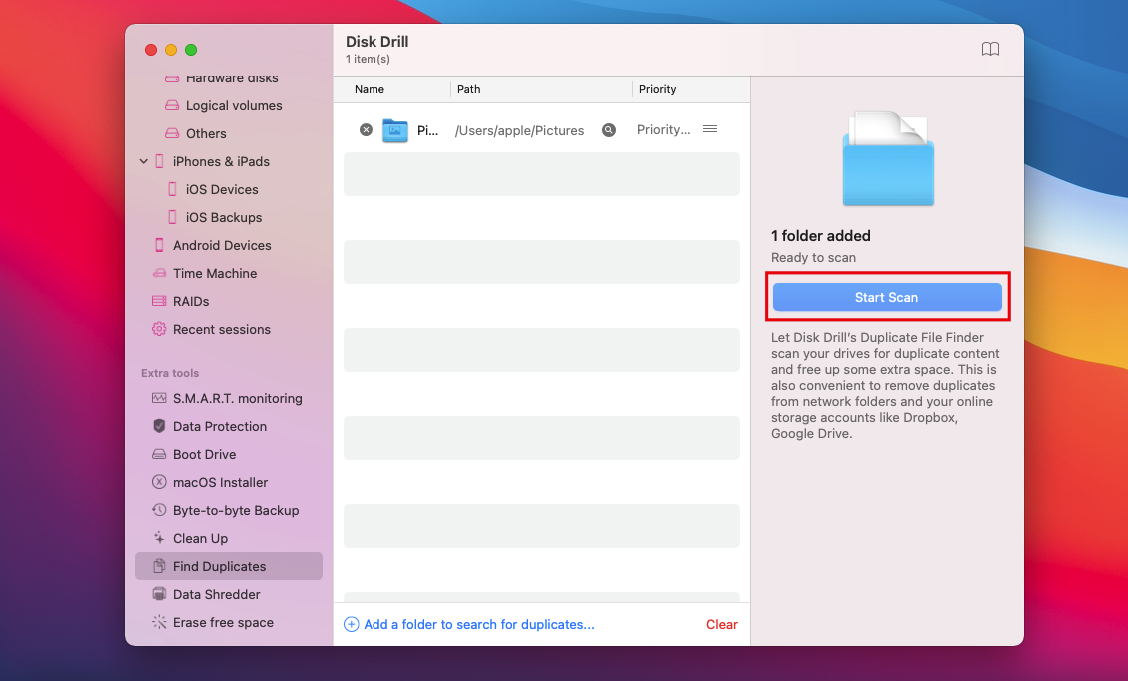
- Open Disk Drill and select Find Duplicates from the sidebar.
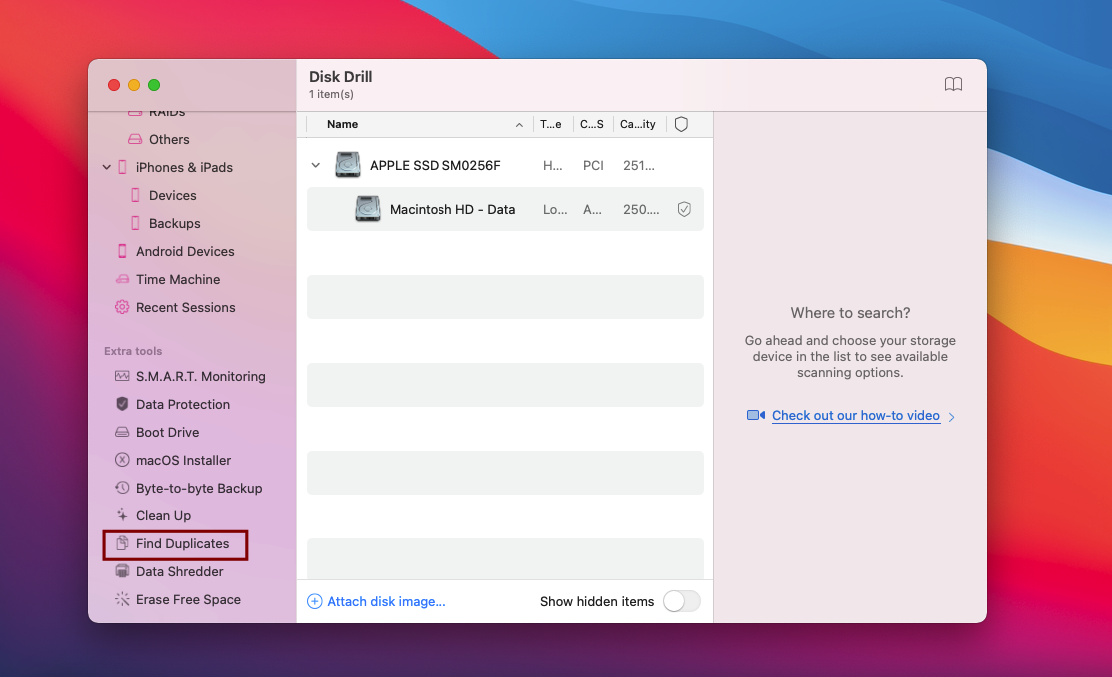
- Select the folder or directory that you want to scan for duplicate photos. You can select multiple folders or even devices and find all duplicate files on them.
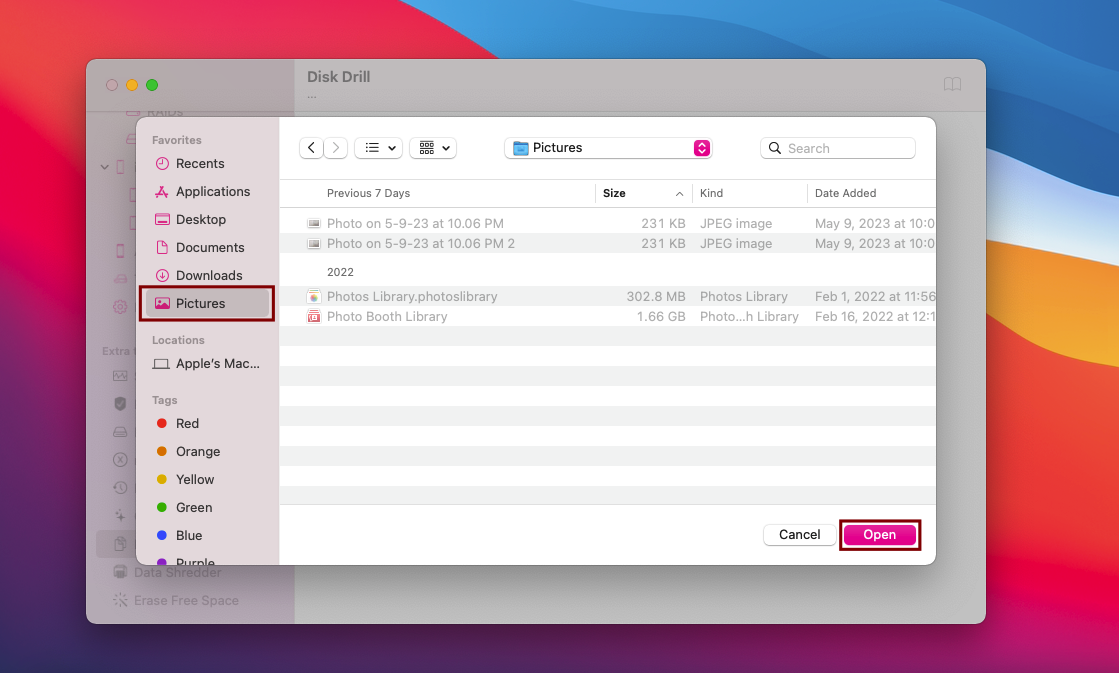
- Customize the scan settings as desired, and click the Scan button to begin the scan.
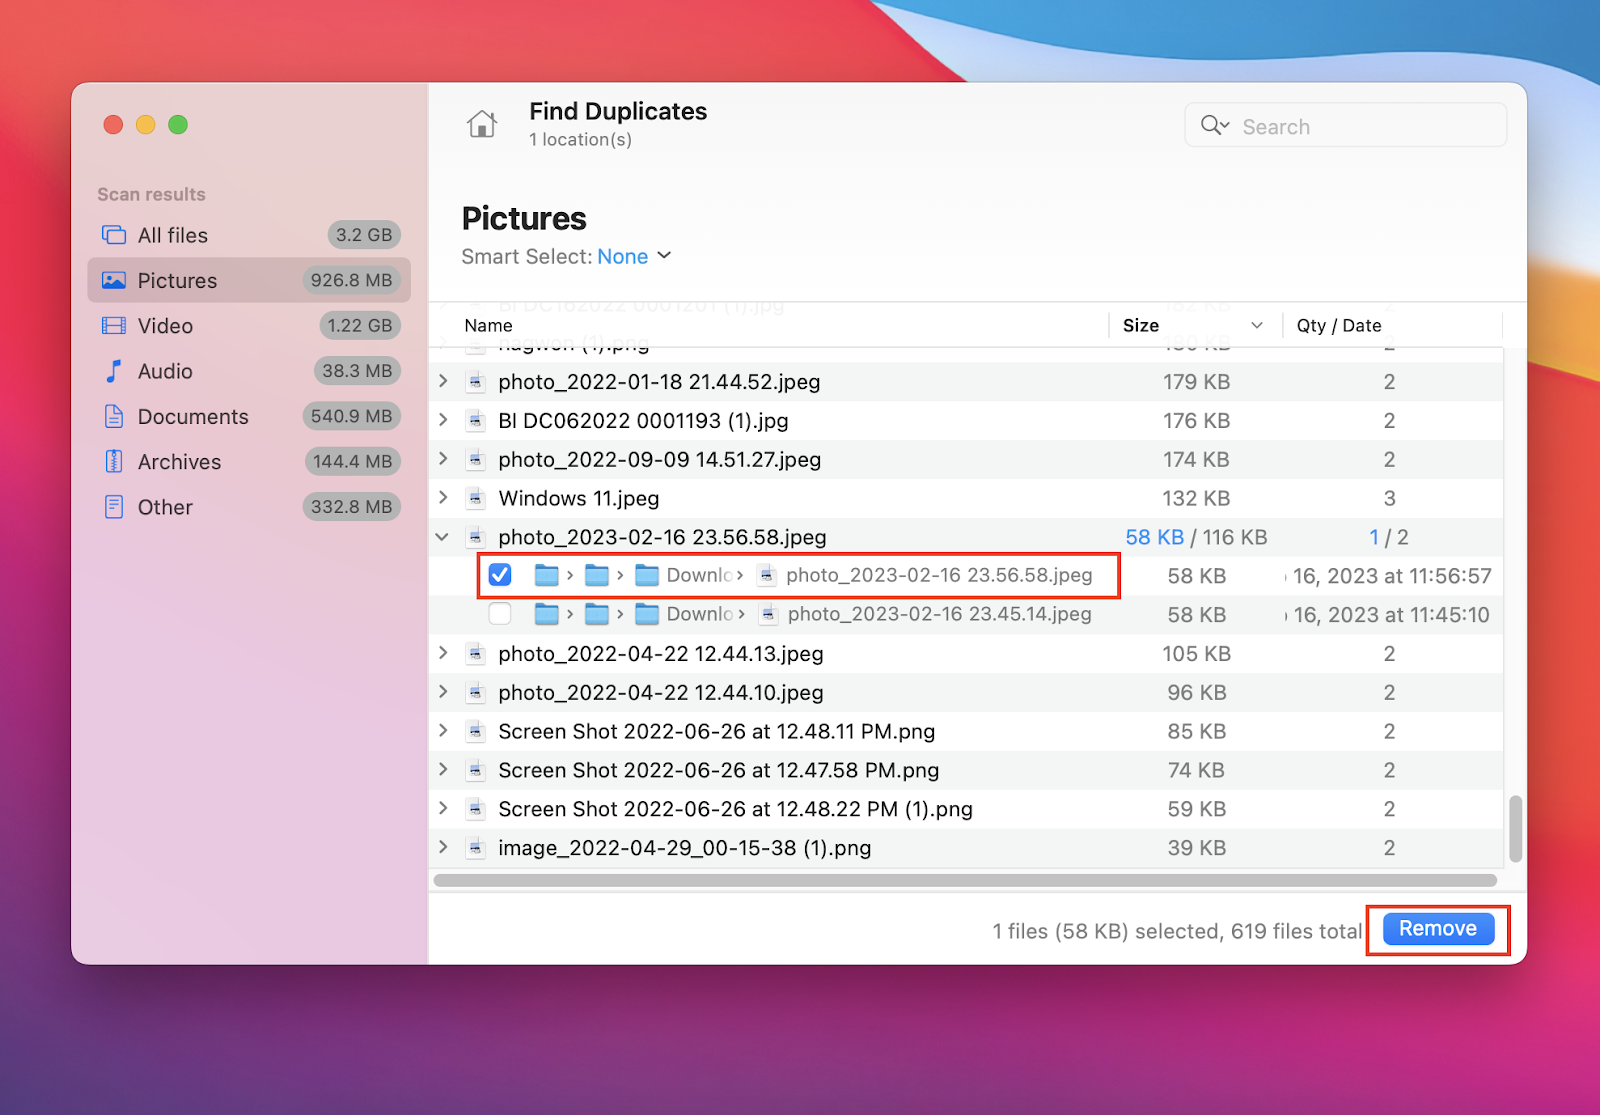
- Review the scan results to see what you want you to delete. You can sort the results by size, quantity/date.
- Select a file, and there will be a dropdown that will show the duplicates. Select one, and click Remove.
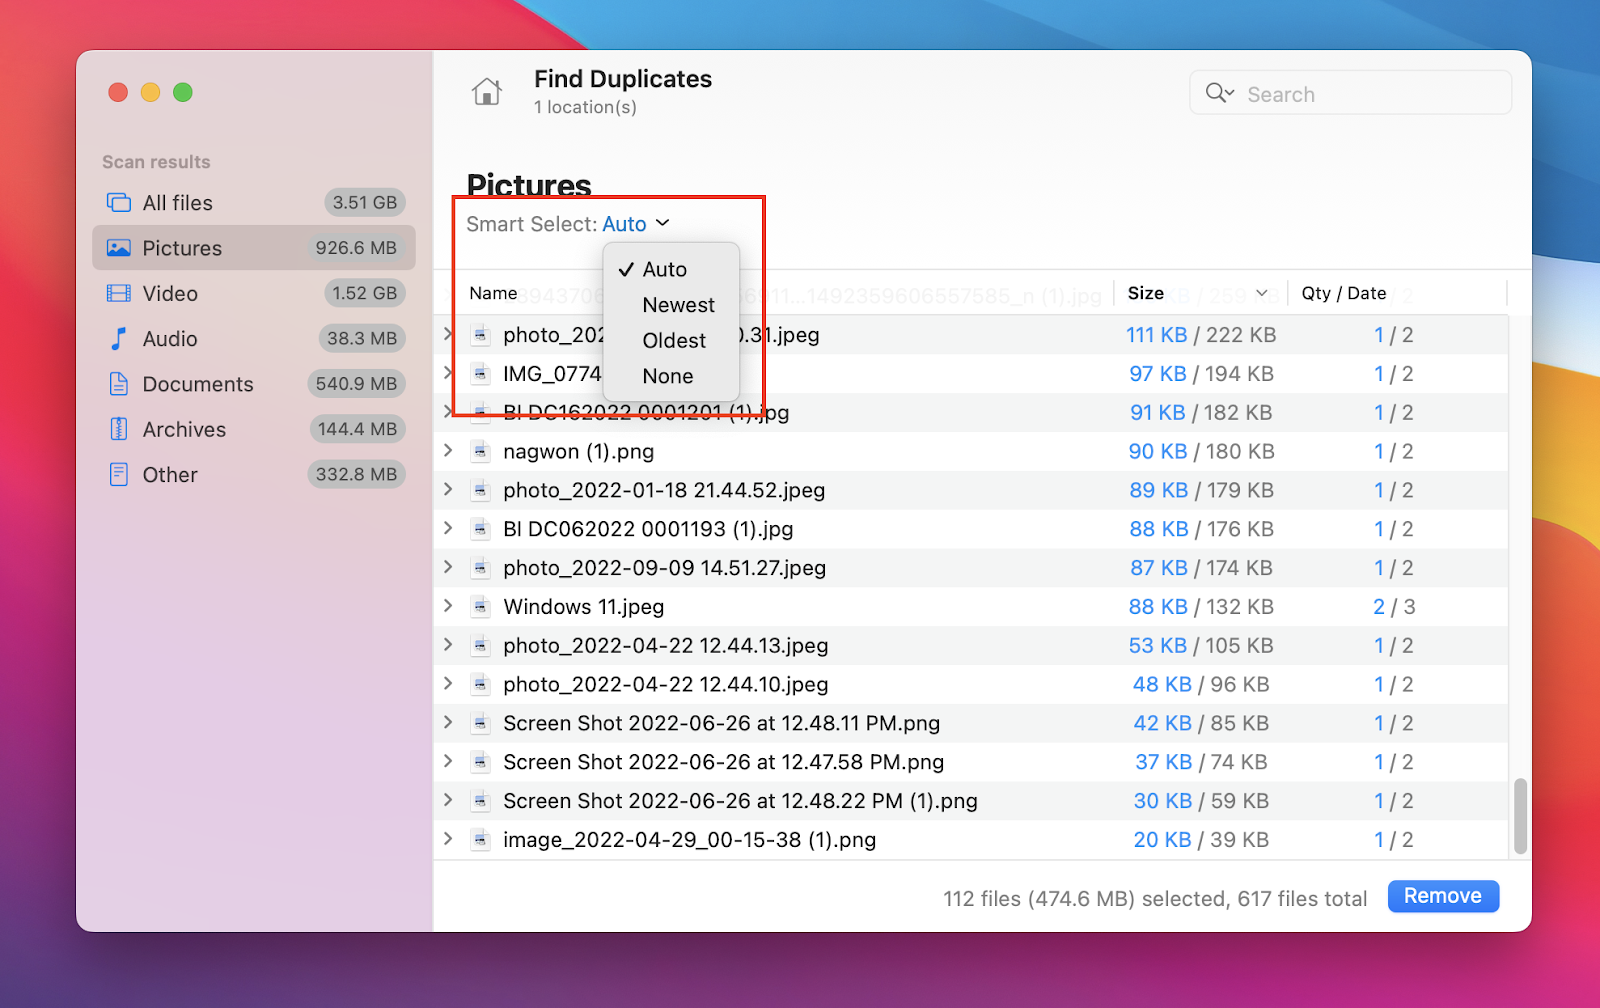
 Alternatively, you can also choose Smart Select to filter the result. Using the Smart Select will automatically choose the duplicate files that will be deleted.
- Disk Drill will ask you to confirm if you want to delete the file. Click OK to proceed.
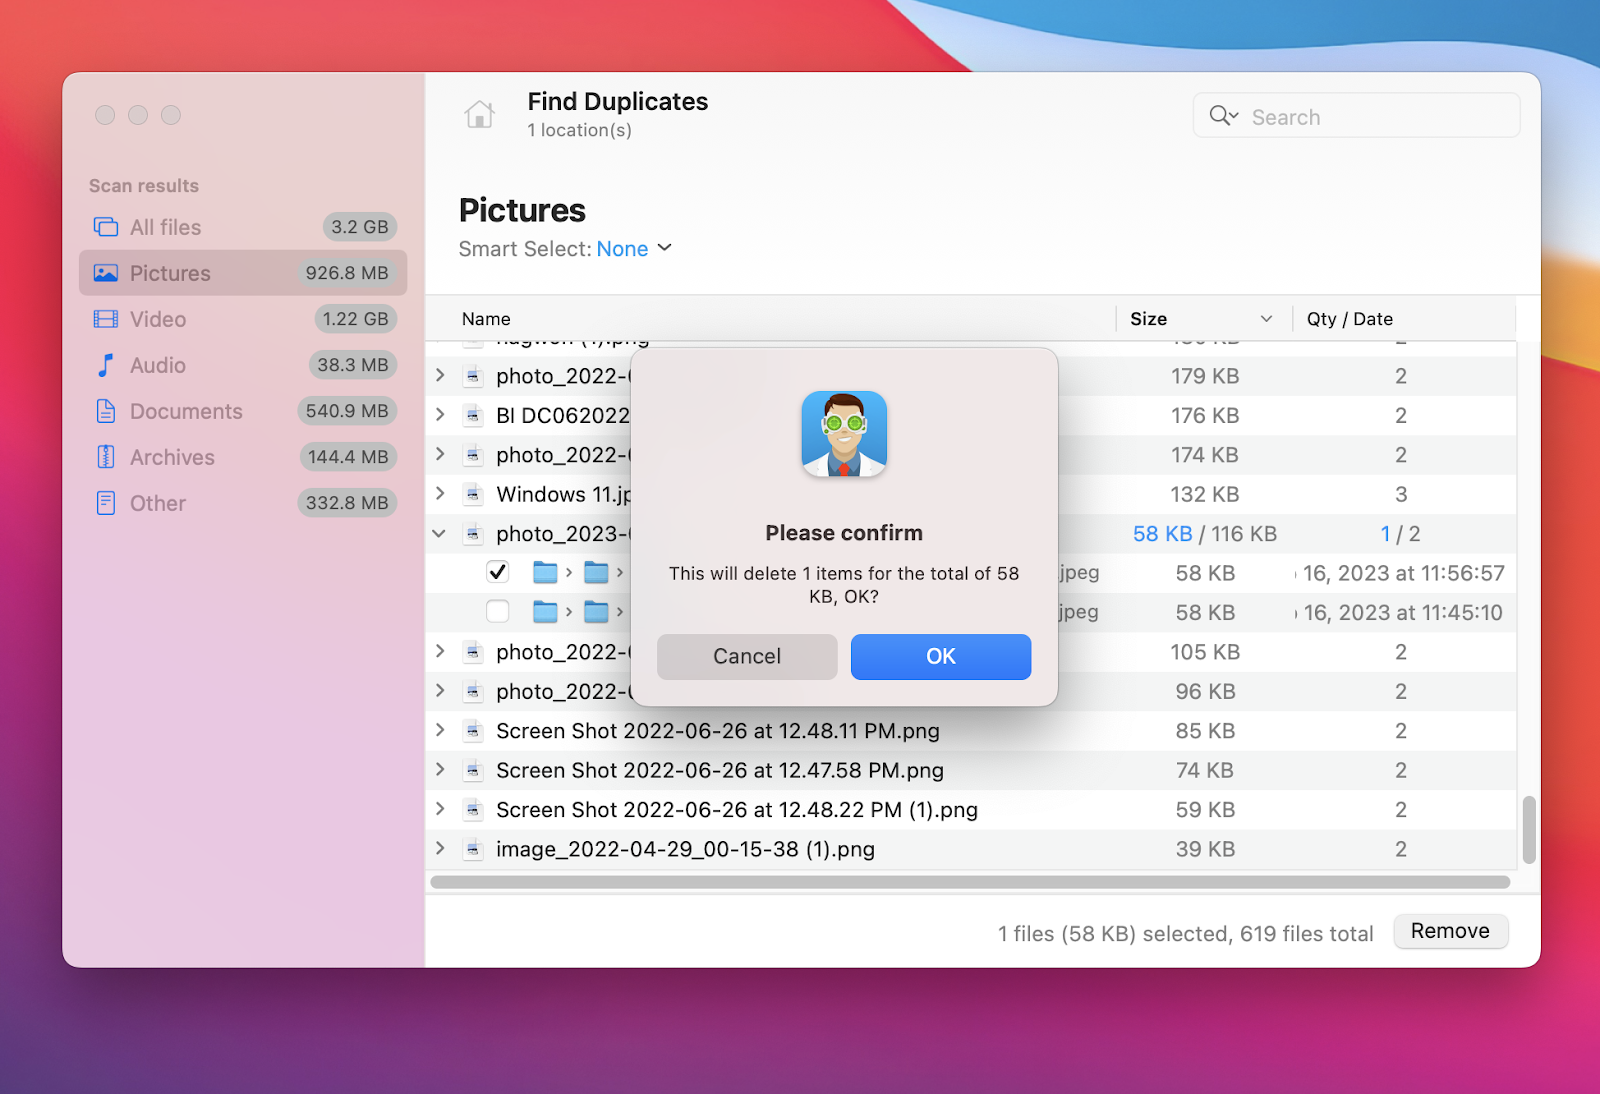
- A confirmation will show that the duplicate image has been deleted. The deleted files will be moved to Mac’s Trash.
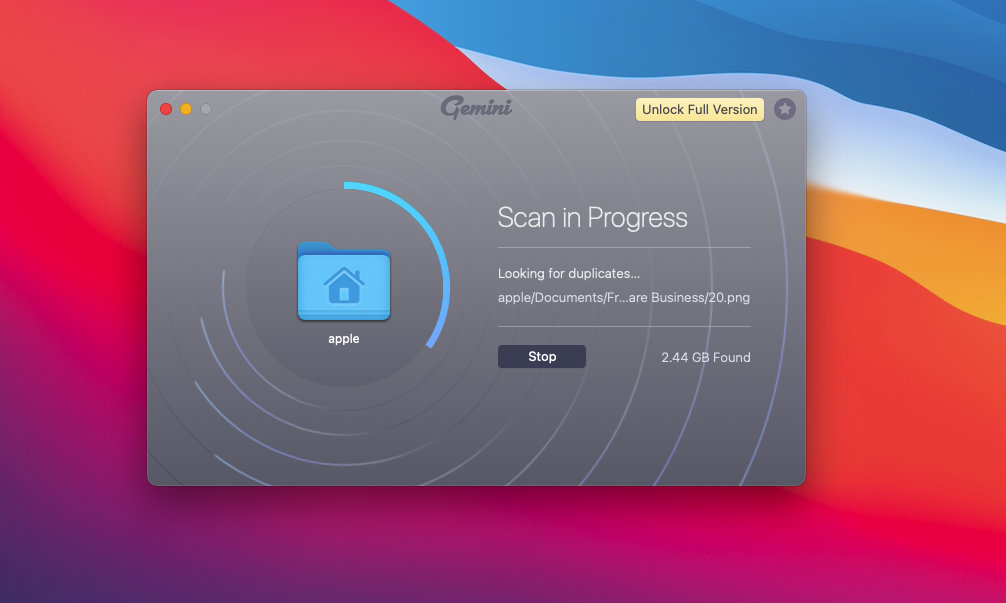
Gemini 2
Gemini 2 is a software tool specifically made to find duplicate files. It scans your entire system and lets you delete unnecessary duplicates, so follow the instructions below to start using this app:
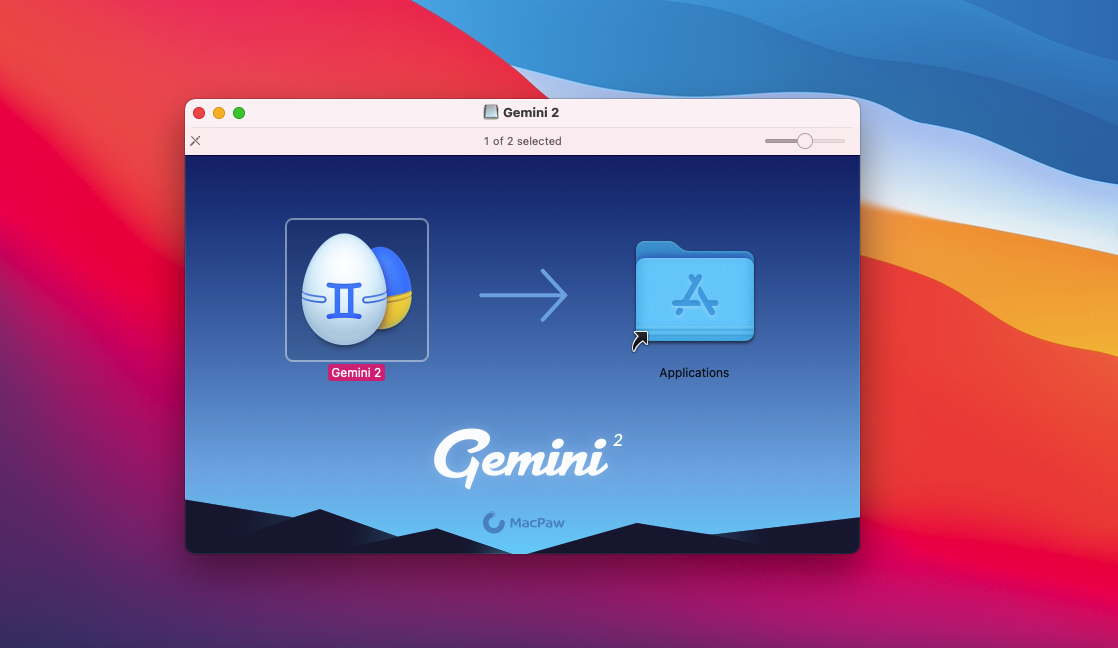
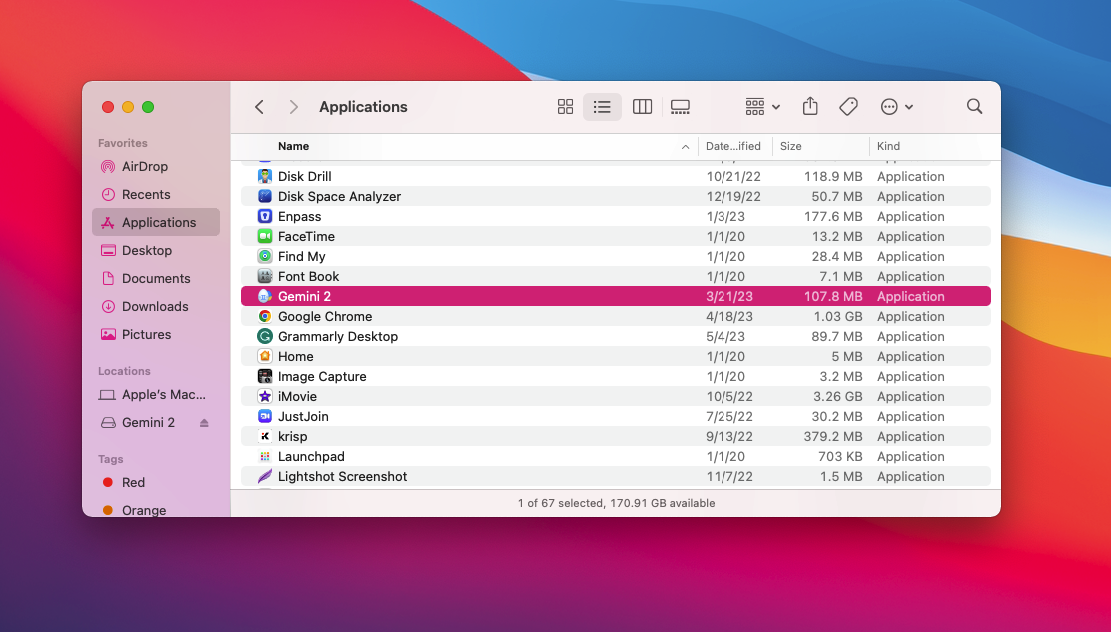
- Download and install Gemini 2 on your Mac.
- Open Gemini 2 and select the Scan for Duplicates option.
- Select the folder or directory that you want to scan for duplicate photos.
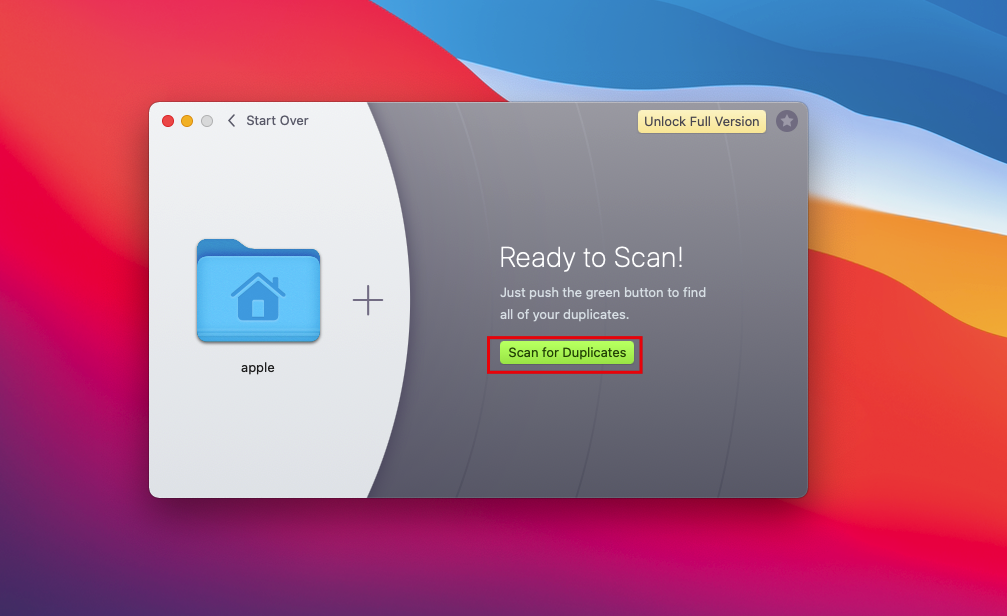
- Customize the scan settings as desired and click the Scan for duplicate button to begin.
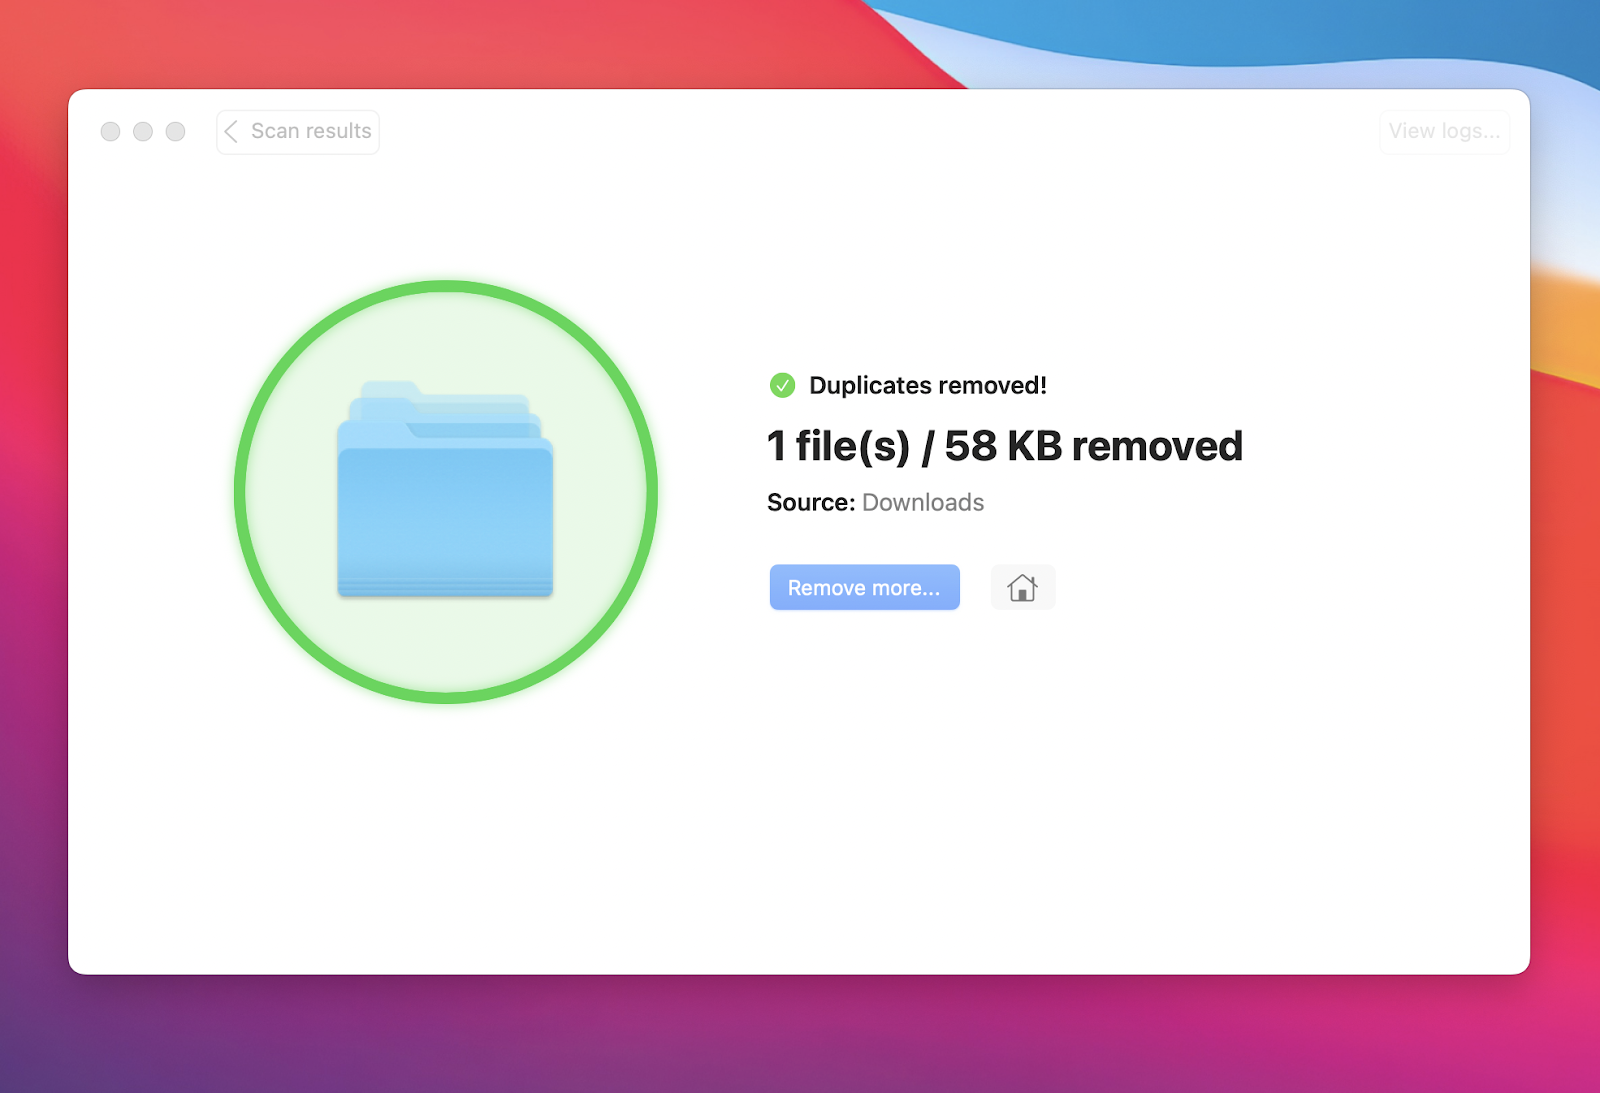
- Once the scan is complete, select the duplicate photos you want to delete by clicking the Review Results tab first.
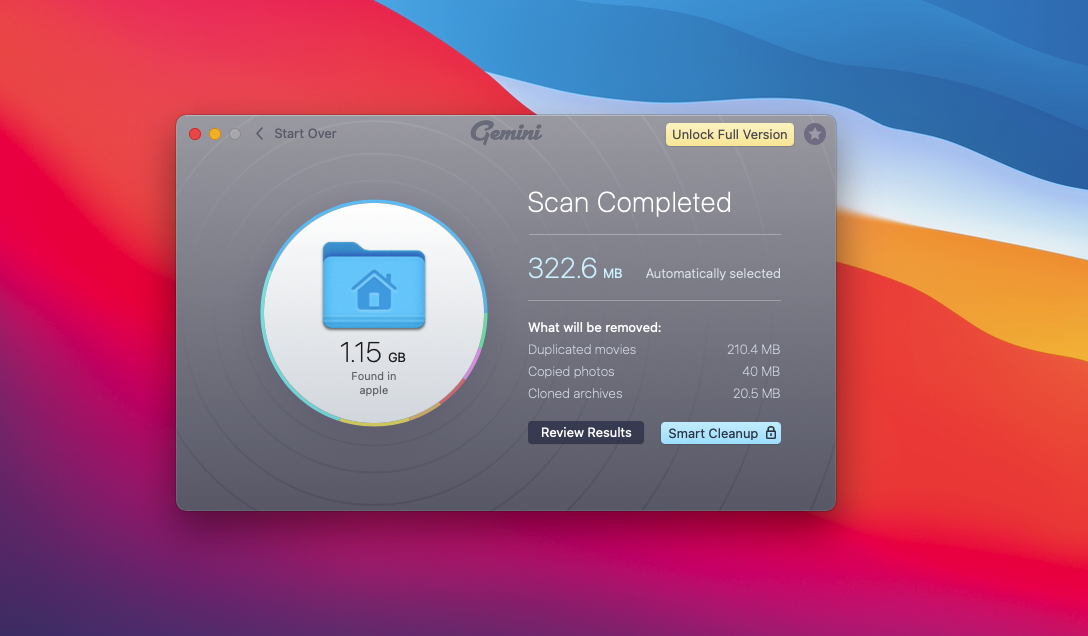
- Click the Smart Cleanup button to automatically delete the duplicate files. However, if you want to delete just only a few selected duplicates, choose the Review Results option. Deleted photos will go to Mac’s Trash.
Preventing Duplicate Photos in the Future
Duplicate photos can clog your photo library, consume valuable Mac storage space, and make it difficult to find the needed photos. Fortunately, there are a number of ways to stop duplicate photos from gathering in the first place. Here are some ideas and tactics:
- ? Organize your photo library. Keeping your photo library organized is one of the best ways to avoid duplicate photos. To make your photos easier to find, delete any unnecessary ones and label and tag them properly. Use albums and smart albums to group related images together, and think about using the “Faces” feature to automatically tag people in your pictures.
- ☁️ Utilize iCloud Photo Library. Use the iCloud Photo Library to store your photos and videos in the cloud to access them from any device. With the ability to delete photos you don’t need without risking their permanent loss, this can help keep duplicate files from accumulating on your Mac.
- ? Regularly review and clean up your library. Ensure you properly label and arrange the remaining items in your collection after removing duplicates or unwanted pictures and videos.
- ? Use a third party to find duplicate photos. There are a number of third-party apps that can assist you in locating and eradicating duplicate photos on your Mac. Popular choices include Gemini 2, Duplicate Photo Finder, and Disk Drill.
- ❌ When importing photos, exercise caution to avoid importing duplicates from your camera or another device. You can choose to only import new photos in a lot of photo management apps, including the Photos app from Apple.
Finding and enjoying your favorite photos will be simpler by using these tips and tricks to keep duplicate images from accumulating in your Mac’s photo library.
FAQs
Yes, Mac has a native duplicate photo finder tool, the Photos app. You can use it to find and manually or semi-manually remove duplicates in photos on Mac.
The best duplicate photo finder for Mac is subjective and depends on your needs. Some popular options include Gemini 2 and Disk Drill.
The quick and straightforward tool Duplicate Photos Finder is designed to help you locate and securely remove duplicate photos on Mac. The Photos library, as well as local and remote storage, are all compatible. DPF will search your Photos library for duplicates or extremely similar images when you click the Scan Library button.
Yes, you can automatically find duplicates in Apple Photos on Mac. There are two ways to do this.
Method A: Use Smart Album and select and set the conditions such as file name, person, text, etc.
Method B: Use a third-party tool like Disk Drill and Gemini 2.
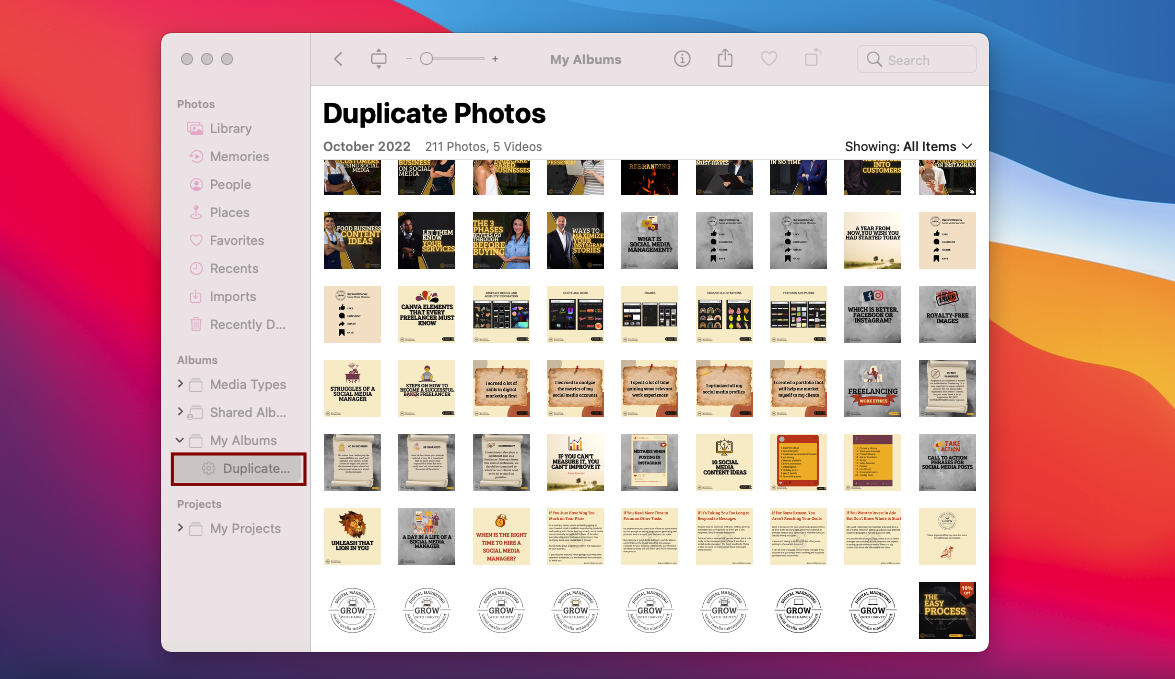
Removing duplicate images and videos from your library is a simple task. The Photos app has a dedicated Duplicates album on the sidebar, automatically displaying duplicates. However, the appearance of duplicates may take some time, depending on the size of your library, as Photos app takes some time to analyze your pictures. You can also use third-party tools that are compatible with macOS like Disk Drill and Gemini 2.
The easiest way to find duplicate photos on my Mac is to use a third-party duplicate photo finder too, such as Disk Drill, which can scan your entire Mac or specific folders for duplicates.
You can mass delete duplicate pictures on Mac computer by using the Photos app. Look for the Show Duplicate Items tab, and the Photos app will now display the duplicate photos in your library. Select them all and delete them by pressing your keyboard’s Delete key.
To delete duplicate photos on Mac for free, use the Finder and manually compare your pictures from the Photos app. You can also try free third-party tools
If your duplicate photos are not showing up, there may not be enough similarities for photos to be grouped under the “Duplicates” album.
Conclusion
Finding and deleting duplicate photos on a Mac can be time-consuming, but it’s worth the effort to declutter your digital storage and make finding the images you need easier. Whether you choose to do it manually or with the help of software, we hope these tips and strategies will help you get the job done.