In the era of digital snapshots and social media, iPhone users across the globe aim to capture the perfect moments with precision and clarity. Despite the advanced camera technology in iPhones, there are instances when photos turn out blurry or less than perfect. Such moments can be disheartening, especially when it’s a once-in-a-lifetime shot. This comprehensive guide delves into the intricacies behind these blurry outcomes and offers actionable insights and steps to transform your iPhone photography journey, ensuring every shot is crystal clear.
Reasons Behind Blurry iPhone Photos
Have you ever wondered, “Why are my iPhone photos blurry?” There are multiple factors, both technical and user-related, contributing to this issue. Every iPhone user aspires to capture the perfect moment, but sometimes the outcome isn’t as sharp as anticipated. Recognizing the causes of blurry iPhone photos is the first step towards finding solutions to make them clearer.
| Issue | Description |
| ? Camera Focus | The primary reason for blurry photos is the camera’s inability to focus accurately. Unclear images can result from smudges on the lens or autofocus issues. Regular lens cleaning can enhance photo clarity. |
| ? Software Glitches | Software-related problems, such as bugs in the camera app or recent iOS updates, can lead to blurry photos. Restarting your device or updating the software might resolve these issues. |
| ?♂️ Movement | Unintended shakes or movements while snapping a photo can result in blurriness. Utilizing stabilization features or tripods can aid in obtaining clearer photos. |
| ⚙️ Incorrect Settings | Using non-optimal camera settings for a given environment can compromise photo clarity. Adjusting settings, such as ISO based on lighting conditions, can significantly improve image quality. |
In summary, multiple factors can cause iPhone photos to be blurry. However, understanding the root causes is pivotal for avoiding them in future endeavors. With the right knowledge and techniques, you can consistently capture clear and crisp shots.
Steps to Fix Blurry iPhone Photos
Encountering blurry photos on your iPhone is a common issue. The causes might vary, but there are standard troubleshooting steps that can help enhance photo clarity. Below is a comprehensive guide to ensure your images are as sharp as they can be:
Clean the iPhone Camera Lens
One of the simplest yet most overlooked solutions to blurry photos is cleaning the camera lens. Dust, fingerprints, or smudges can adversely affect photo clarity. Use a soft, lint-free cloth to gently wipe the lens. Avoid using abrasive materials or excessive force, which can scratch the lens.
Check for Software Updates
Software glitches can sometimes cause issues with photo clarity. Ensure your iPhone’s operating system and camera app are updated to the latest versions. Apple frequently releases updates that fix known issues. To check for updates, go to Settings > General > Software Update.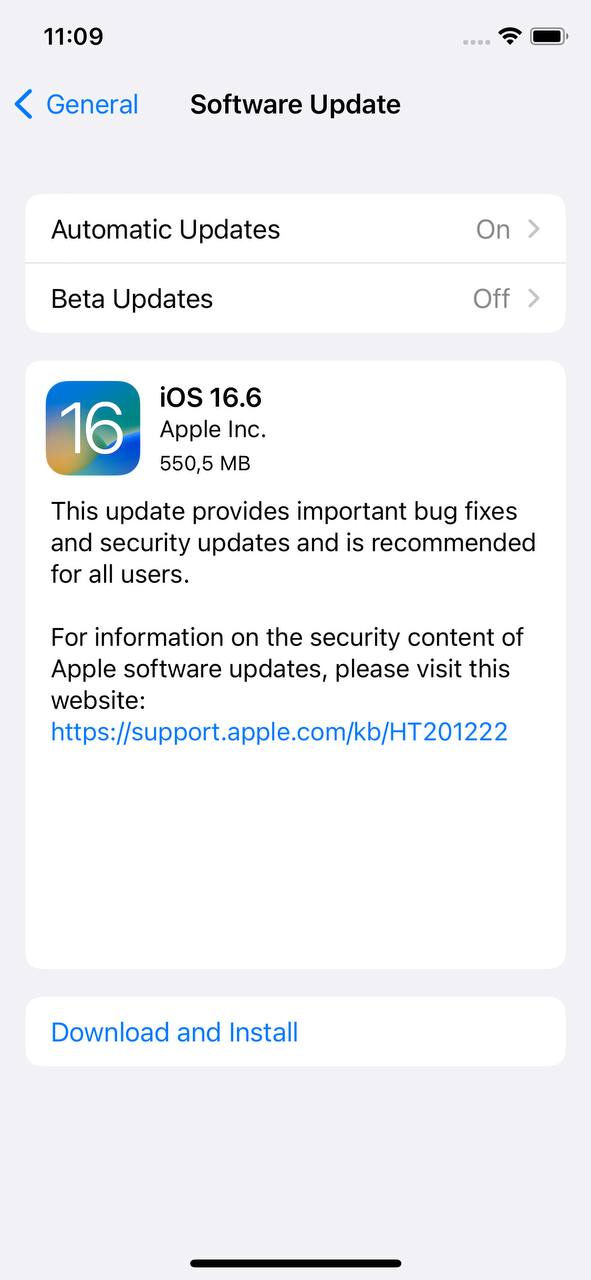
If you’re facing issues with your photos appearing zoomed in or if there’s an unusual blur, it’s possible there might be a software glitch or a setting that’s been inadvertently changed. Sometimes, simply restarting your iPhone can make things return to normal. Remember, always back up your images and data before making major changes or updates.
Stabilize Your iPhone While Taking Photos
Unintentional shakes or movements during photo capture can cause blurriness. Here’s how you can mitigate this:
- Use both hands to hold your iPhone steady.
- Lean against a wall or rest your elbows on a stable surface to minimize movement.
- Consider using stabilization tools or tripods designed for smartphones.
- Activate the iPhone’s built-in stabilization features if available.
Additionally, if you’re trying to refocus on a moving subject or if you’ve taken a live photo, ensure that there’s no roll or sudden movement as it can make the image appear fuzzy or pixelated. For photos that appear less sharp or slightly blurry, fixing them might require more than just stabilization. Consider using advanced editing apps or professional software for fixing such imperfections.
Check Camera Protective Covers
Some protective covers or screen protectors can interfere with the camera’s ability to focus. Ensure that any protector is correctly aligned, and if the problem persists, consider removing it temporarily to check if it’s the cause of the blur.
In conclusion, while blurry images can be frustrating, these basic troubleshooting steps can go a long way in helping you clear up a blurry picture on iPhone. With some attention to detail and minor adjustments, you can capture sharp and clear photos consistently.
Advanced Techniques to Unblur Photos on iPhone
For those looking to dive deeper into photo enhancement, there are advanced methods and tools available that can transform even the most blurry iPhone photos into sharp, clear images. From in-built editing tools to sophisticated third-party apps, these techniques provide a myriad of solutions for photo enthusiasts and professionals alike.
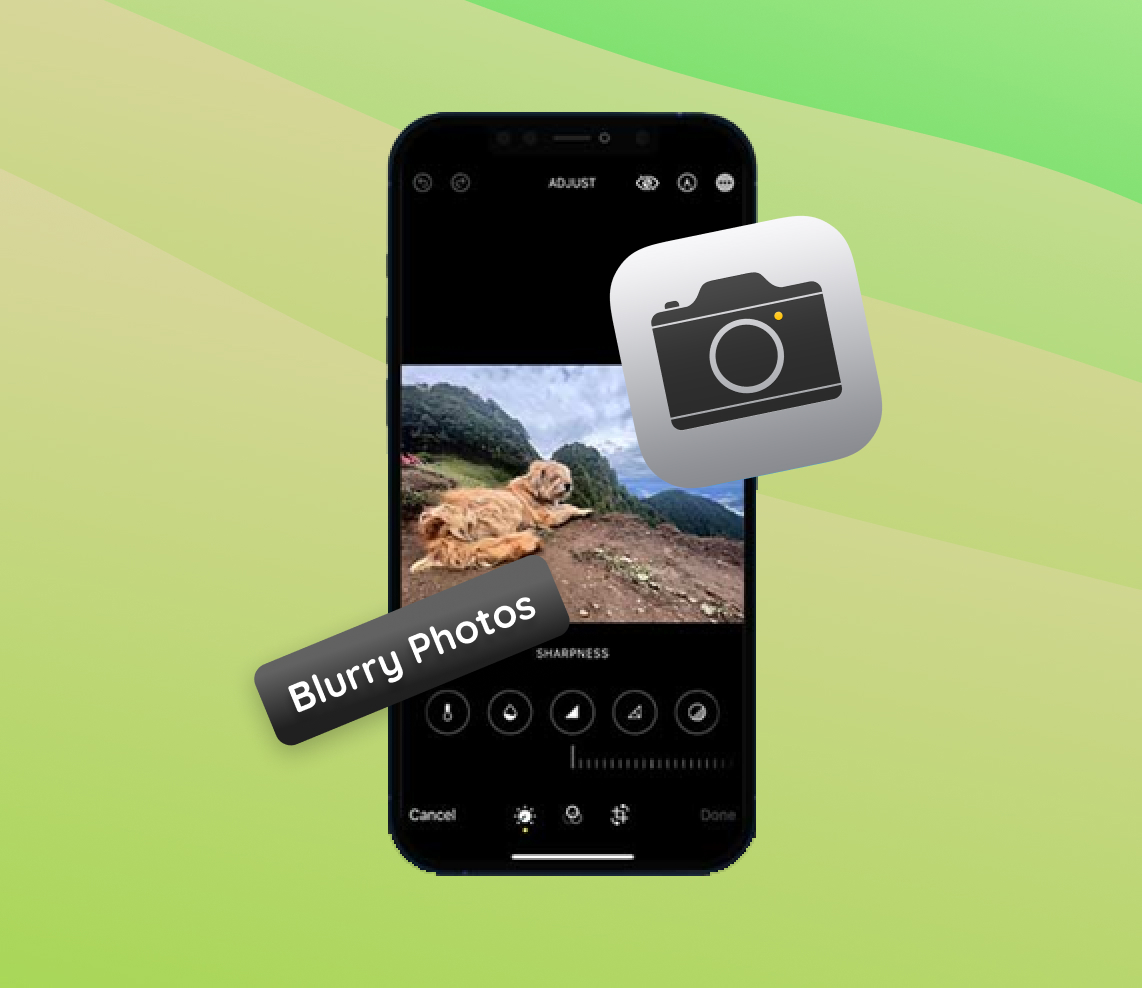
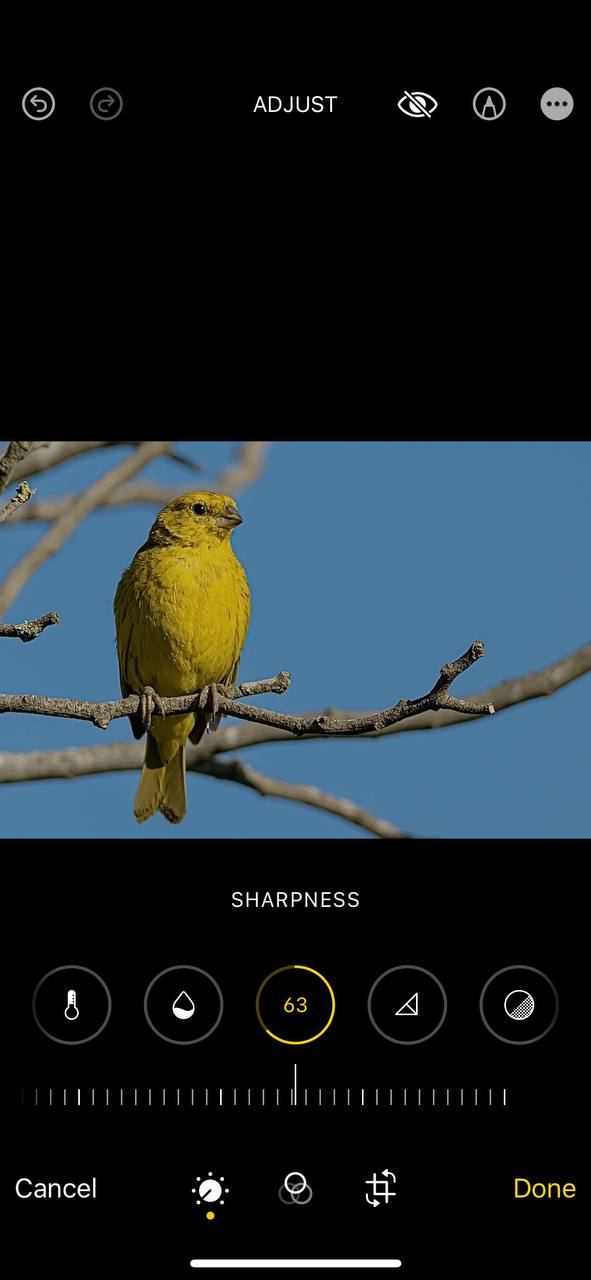
Method 1: Use Built-in Editing Tools to Enhance a Blurry Photo on iPhone
The iPhone’s native Photos app comes with an array of editing tools that can adjust lighting, contrast, and sharpness. By tweaking these settings, you can significantly improve the clarity of a blurred image. Experimenting with the sharpness tool, in particular, can help in reducing the blur.
Method 2: Clear Up a Blurry Picture on iPhone Using Third-party Apps
There are numerous third-party apps available on the App Store designed specifically to clear up a blurry picture on iPhone. These apps offer advanced editing tools and filters that can refine and enhance image quality, often with just a few taps.
For those seeking third-party solutions, here’s a list of recommended apps that are known to assist in resolving blurry photos, along with detailed descriptions:
- Adobe Photoshop Express: A mobile version of Adobe’s flagship photo editing software, Photoshop Express offers a range of powerful tools, including advanced sharpening features and clarity adjustments, making it a favorite among professionals.
- Pixelmator: This app stands out for its user-friendly interface paired with a robust set of editing tools. It offers layer-based editing, making it easier to fine-tune specific parts of an image without affecting the whole photo.
- Afterlight: A versatile photo editor, Afterlight offers a unique clarity tool that automatically enhances the detail and sharpness of an image. With its collection of filters and textures, users can further refine their photos.
- Photoleap: Offering a comprehensive suite of editing tools, Photoleap provides users with precise control over every aspect of their photos. From basic adjustments to artistic transformations, the app caters to both novice and expert photographers.
- Remini: Pioneering in AI technology, Remini specializes in enhancing old or low-quality photos. It intelligently analyzes and transforms blurry images, making them clearer and more detailed.
In conclusion, with the advancement in technology and the myriad of tools available, there’s no reason to settle for blurry photos. Whether you’re using built-in tools or exploring third-party apps, with a bit of practice, you can consistently capture and edit stunning, clear images on your iPhone.
Preventing Blurry iPhone Photos: Best Practices and Maintenance Tips
While there are techniques to address and make a blurry picture clear on iPhone after the fact, prevention is the best solution. Adopting certain habits can drastically diminish the chances of capturing blurry photos. Here are some distinct practices and maintenance tips to ensure consistently clear iPhone photos:
- Know Your Camera Modes: iPhones come with various camera modes like Portrait, Panorama, and Night mode. Familiarize yourself with these to select the best one for your shooting conditions.
- Opt for HDR Mode: High Dynamic Range (HDR) mode takes multiple photos at different exposures and merges them. This can bring more clarity and detail to your photos, especially in challenging light conditions.
- Limit Background Apps: Running too many apps in the background can affect your camera’s performance. Before taking photos, close unnecessary apps to ensure the camera operates at its best.
- Utilize Grid Lines: Turning on the camera’s grid lines can help you frame your shots better. Using the rule of thirds, you can balance your composition, leading to clearer and more professional-looking photos.
- Calibrate Your Focus: Periodically, it’s good to calibrate your camera’s focus. Point it at a distant object, then a close one, allowing it to autofocus each time. This ensures the autofocus mechanism is working optimally.
- Regular Device Maintenance: Over time, the iPhone’s performance might degrade. Regularly backing up and restoring your device can keep it running smoothly, indirectly benefiting the camera’s performance.
- Learn from Mistakes: After taking a photo, review it. If it’s blurry, analyze why it happened. Was there too much movement? Was the focus off? Learning in real-time can prevent repeated mistakes.
By integrating these habits into your photography routine, you can significantly reduce the chances of capturing blurry photos. Remember, a bit of preparation and knowledge goes a long way in ensuring every snapshot is a masterpiece.
Sharing and Sending Photos
Sharing your captivating iPhone photos is a joy. Whether you’re sending them via iMessage, email, or other messaging apps, ensuring the clarity of the photo is paramount. If someone sends you a blurry screenshot, or if you receive an image that seems pixelated, it’s possible that the original photo was of low resolution, or there might have been issues during the transmission process.
When sharing, be cautious about zoomed in images as they can appear pixelated or lose clarity. If you’re trying to clarify a received image or if you need to unblurr someone else’s photo, various editing tools and apps can assist in enhancing the picture.
Photo Privacy and Uncensoring
While sharing and receiving pictures and photos, always prioritize privacy. If you’ve received a blurred or censored image for privacy reasons and are attempting to uncensor or unfuzzy it, remember to always respect copyright and privacy guidelines. Unauthorized uncensoring can be unethical and, in many cases, illegal.
There are tools like unblurrer or unblurr apps available, but use them responsibly. If you’re trying to view a text in a blurred screenshot sent by someone, it’s best to ask them for a clearer version.
Conclusion
Photography, especially with iPhones, has evolved into an art form accessible to everyone. Blurry shots, while often frustrating, are challenges that can be surmounted with the right knowledge and tools. Ensuring your iPhone photos exude clarity and brilliance requires a keen understanding of potential challenges and the proactive employment of corrective measures. From the simple act of cleaning your lens to the more intricate processes of using advanced editing tools, a plethora of strategies exist to transform even the blurriest of shots into memories worth cherishing. As technology advances, so do the tools and techniques available. By staying updated with the latest software enhancements and exploring innovative third-party apps, you open doors to greater photo clarity. In the end, the essence of photography lies not just in capturing moments but in doing so with passion, precision, and a continuous desire to learn and improve.
FAQ
Yes, if the blurriness is due to a hardware issue. For example, if the lens is scratched, the camera module is faulty, or there’s an internal defect, visiting an Apple Store or an authorized service provider might be the best solution. However, if the blurriness is due to software or settings, it’s often something you can troubleshoot on your own.
When you upload photos to social media platforms, these platforms often compress images to save storage space and bandwidth. This compression can sometimes result in a loss of image quality, making them appear blurry. To minimize this, you can adjust the settings on your social media account, use image editing apps to optimize photos for the platform, or ensure you’re uploading at the recommended resolutions.
If you’re looking to blur the background for a creative effect (like Portrait Mode), iPhones come with built-in settings. But if you want to unblur an already blurred background, it might be challenging. There are third-party apps that can attempt to sharpen an image, but results vary. For best results, always try to capture the photo with the right settings initially.
There are several photo editing apps available on the App Store that allow you to enhance and sharpen blurry photos. Some popular ones include Snapseed, Adobe Photoshop Express, and Pixelmator. By using the sharpening tool in these apps, you can enhance the clarity of your image. However, remember that there are limitations to how much an already blurry photo can be improved.
No, not all blurry photos can be completely fixed. While editing tools can sharpen an image to some extent, severe blur or out-of-focus images might not be salvageable to a high-quality state. It’s always best to try and capture the photo as clearly as possible in the first place to avoid post-processing challenges.