
It’s common for MacBook Air hinges to become loose over time. If you’ve noticed that your computer’s screen has become wobbly when you open or close it, you should check the hinges on your Mac. Sometimes an easy and quick solution like this one can get rid of many problems and prevent new ones from happening because of loose screen hinges.
TL:DR; In this article, we’ll cover how to do a MacBook Air hinge replacement by yourself and provide detailed step-by-step instructions for the whole process.
Can I Tighten a MacBook Air Hinge By Myself?
Yes, it’s possible to fix a hinge on a MacBook Air by yourself without the help of professionals. The overall process is quite simple and fast. However, the key is to be very careful at all times to avoid causing more damage to the hinges or other parts of your computer.
Also, you should have the right set of tools on hand if you choose to fix the loose screen on your Mac by yourself. For this repair, you should have the following ready:
- Pentalobe screwdriver
- T8 screwdriver
- Pry tool
- Grips
How to Tighten MacBook Air Hinge
As we’ve already mentioned, it’s possible to tighten a hinge on a MacBook Air by yourself. Of course, it’s best to let professionals take care of such an issue. But if you’re sure you have the skills to do it, here are the steps that you should take to tighten the loose screen on your MacBook.
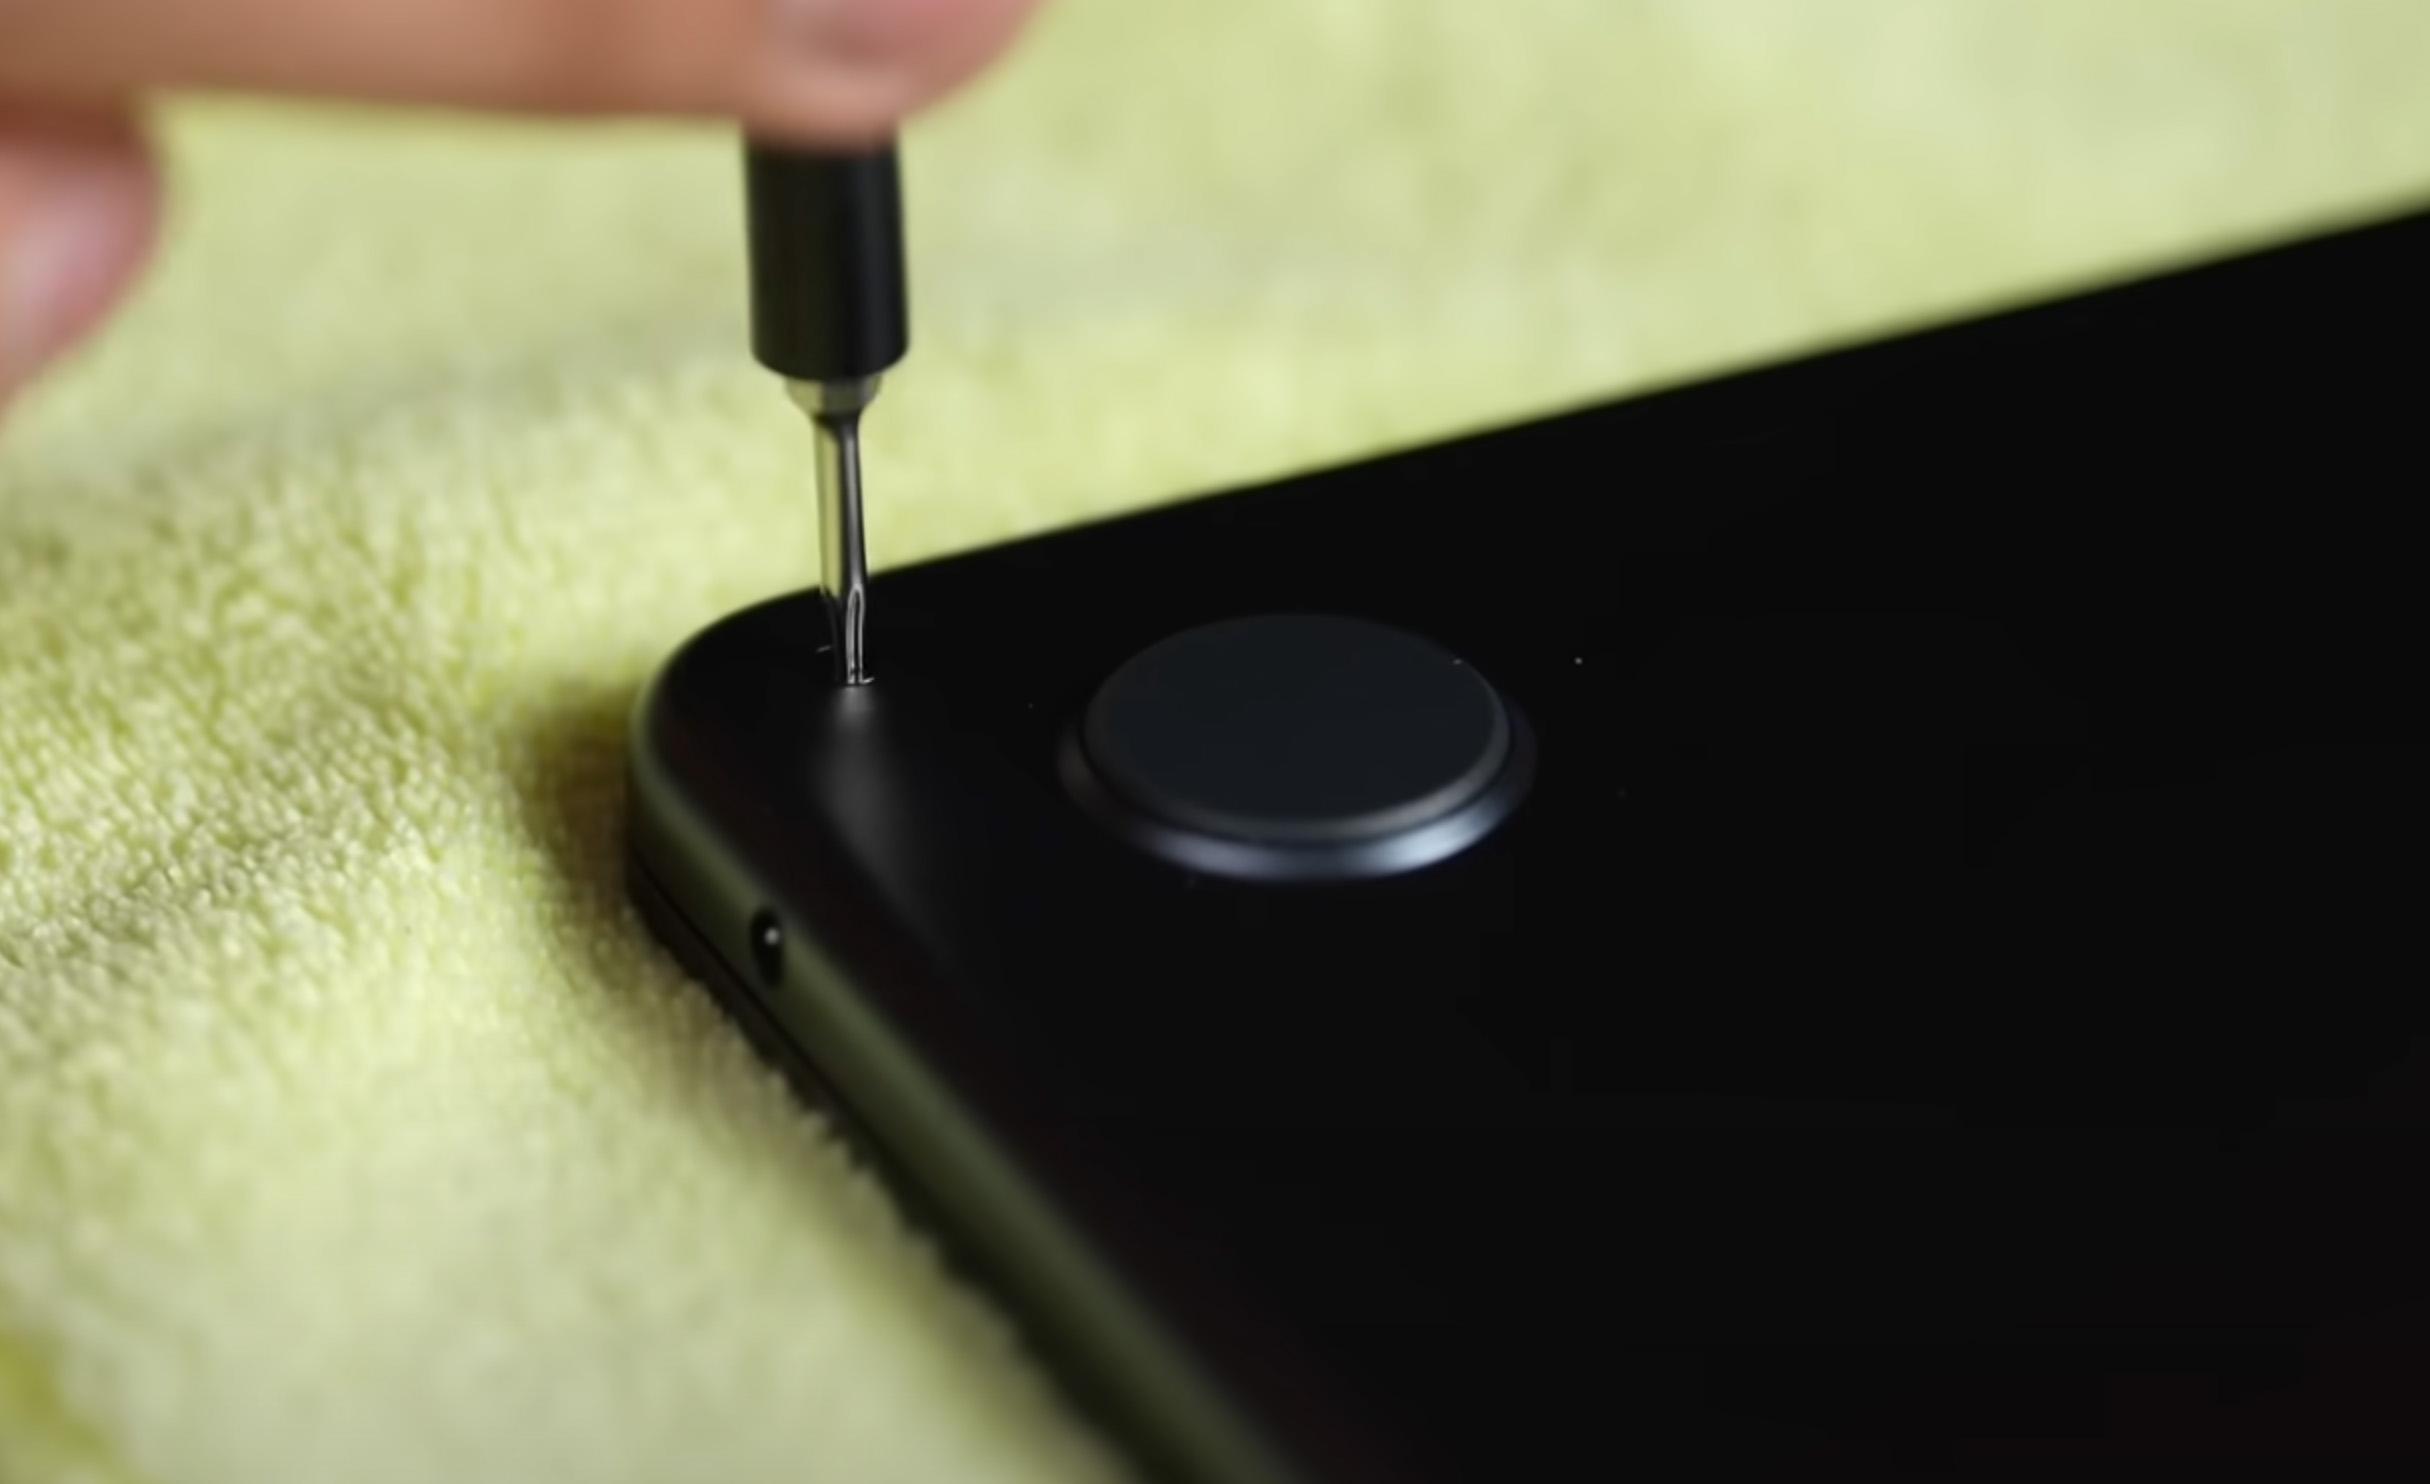
Step 1. Remove Screws
Just like with tightening a MacBook Pro hinge, the first thing that you should do is turn your laptop upside down to get a better view of the screws located on the bottom of the Mac. Remove the screws that hold the lower case and lift it off the computer.
Step 2. Disconnect Battery
Now once you see the internals of your Mac, you should locate the battery connector and carefully lift it to disconnect the battery. You can use basically anything for this step, just make sure that you take your time and slowly do this step so that you don’t damage it.
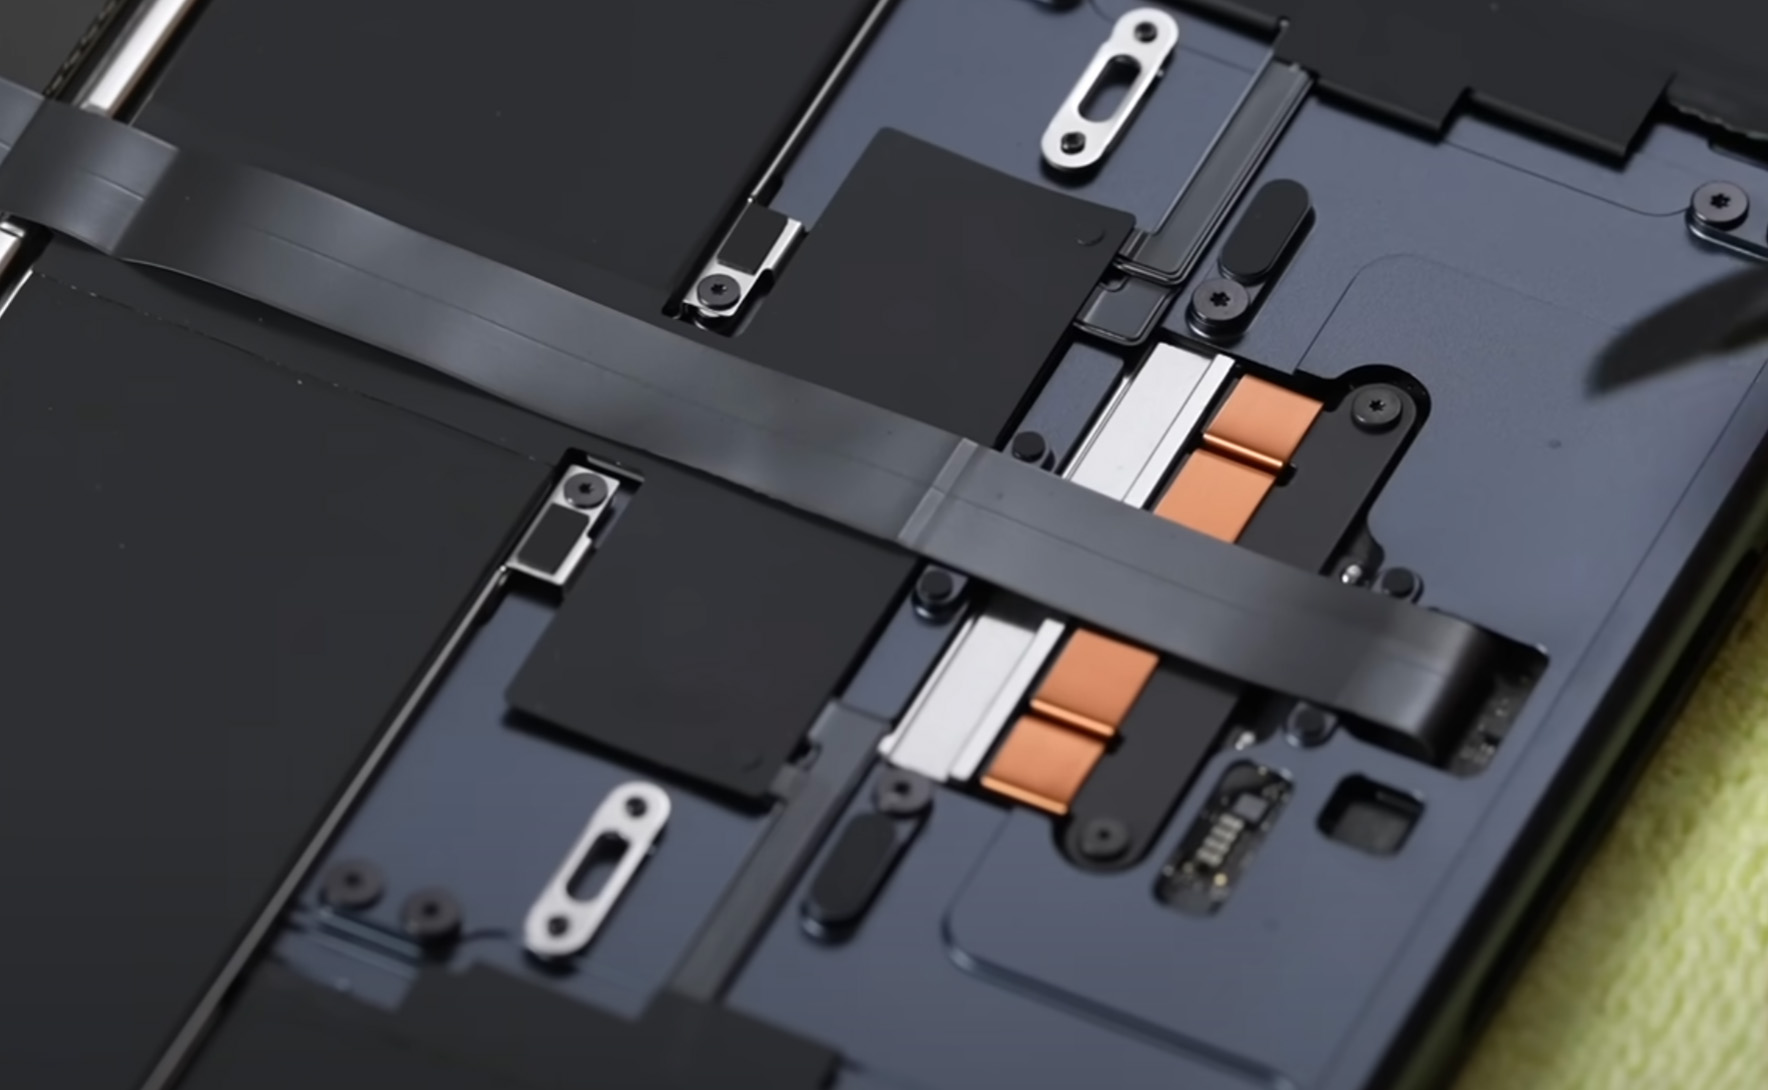
Step 3. Check Hinge Screws
It’s possible that the screen on your computer was loose because of the base hinge screws. Therefore, it’s a good idea to check them to see if they might be the reason for that. There are four base hinge screws (two on the top-left of the back of your Mac and two on the top-right side).
After you tighten them, check your screen. If it is still loose, then you should remove the screws that you just tightened to get access to the screws connected to the screen of your Mac.
Step 4. Disconnect Video Cable
The next step would be to disconnect the video cable on your Mac. It’s located on the top-left side of the back of your computer. To do that, you should carefully get under the flap and pull it to open. Then gently squeeze its sides to remove it.
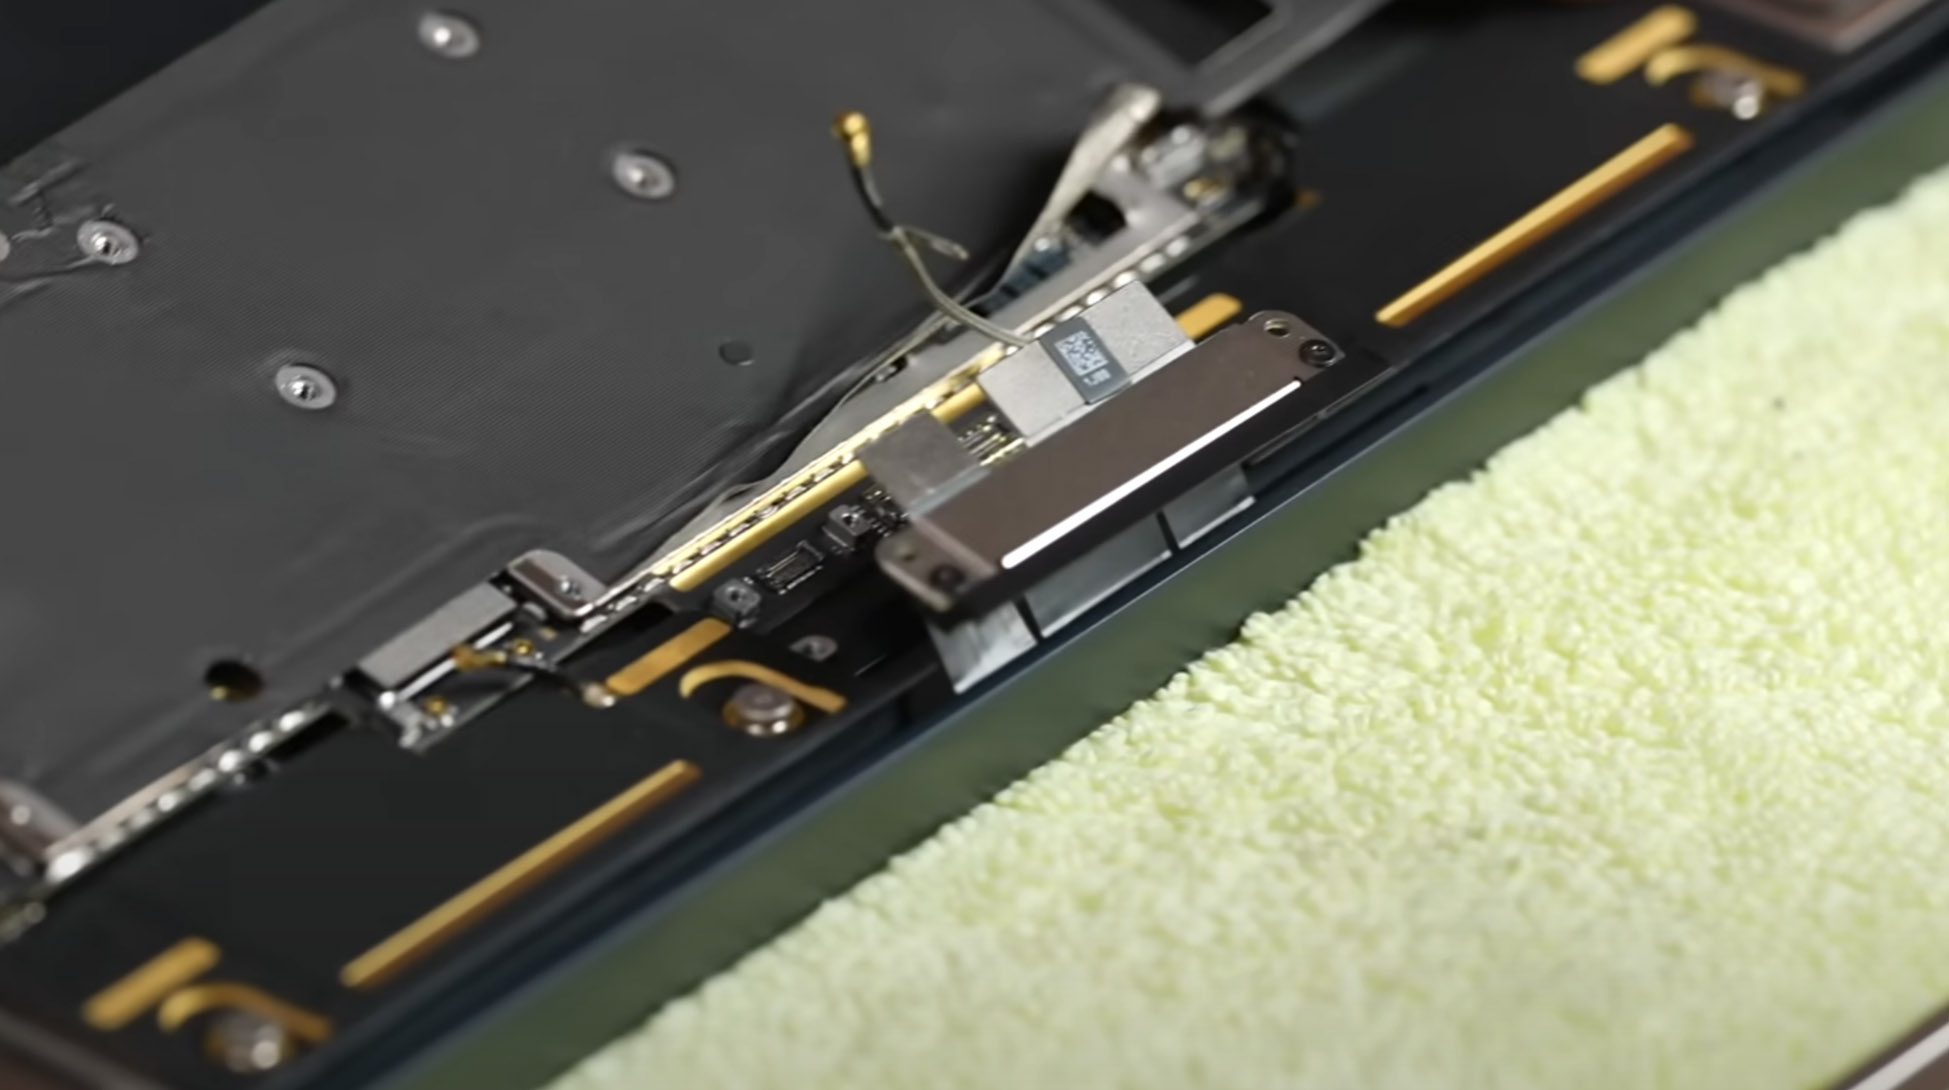
Step 5. Remove Bridge Cover
Now you should remove the bridge cover on your computer. Just like with the previous steps, make sure that you’re incredibly careful so that you don’t damage it.
To remove the bridge cover, you should slowly get under it and pull it towards yourself to lift it up.
Step 6. Tighten Screen Hinge Screws
To see the hinge screws and actually tighten them, first, you should carefully remove the hinge cover (it looks like a thin plastic strip where the screen and the base of your Mac are connected). You should use a tool like a pair of grips to get under the hinge cover and to slowly lift it off.
Once you’ve removed the hinge cover, you can finally tighten the Mac screen by tightening the screws.
Step 7. Install Screen Hinge Cover
Take the hinge cover that you’ve previously removed and carefully put it back in its place to cover the hinge screws that you’ve just tightened. When you hear it click, it means that you’ve positioned it correctly, and it’s back where it belongs.

Step 8. Install Base Hinge
The next step you should take is to attach the hinge screws back to the base of your MacBook. Simply push the hinge back down so that they’re located right above the screw holes. Then put the screws in the holes and tighten them.
Step 9. Reattach Triangle Cover
Now you should reattach the bridge cover back to your Mac. Be careful and make sure that you place it precisely where it belongs. It should easily slide back into the slot. Once it’s in, slightly press on both ends of the bridge cover to snap it back on.
Step 10. Reconnect Battery
And finally, the last step: reconnect the video cable and battery on the computer. To do that, carefully slight the video cable back in its place and press the flap back down to make sure it’s fixed (you’ll hear a click sound).
To reconnect the battery, carefully push it to slide it back on. Once that’s in place, don’t forget to place the cover of your Mac back on and tighten the screws to make sure it holds.
FAQ
In general, here’s what you should do to fix loose hinges on your MacBook Air:
- Remove the bottom cover of your Mac.
- Disconnect the battery and video cable.
- Tighten the base hinge screws.
- Remove the bridge cover.
- Remove the hinge cover and tighten the hinge screws.
- Reattach the hinge cover.
- Install base hinge.
- Reattach the bridge cover.
- Reconnect the battery and video cable.
- Put the bottom cover back on your computer and reattach the screws.
It depends on whether the hinges on your MacBook Air are just loose or damaged and need to be replaced. In general, the cost of repairing MacBook Air hinges can start from around $100 and go up to $400 (or even more depending on the issue). Broken hinge replacement usually is more costly.
Yes, MacBook hinges can break. Usually, it can happen because of their limited lifespan (they can last for around 1-2 years and then need to be replaced).
Yes, it’s possible to continue using your MacBook even with broken hinges. But still, it’s best to repair them to be able to use your computer without any discomfort. Moreover, if you keep using your Mac with broken hinges, they can damage other parts of your computer, such as screen connections and circuits. And then you’ll have even more issues to deal with and higher repair costs to pay.
Conclusion
In most cases, when the MacBook’s screen becomes wobbly, it happens because of loose hinges. The good news is that you can easily tighten them by yourself to fix the problem and prevent potential damages that can occur because of loose screen hinges. All you should do to resolve the issue is get the appropriate tools and follow the steps in this article.